Increase Component Density in Multilayer PCB Design with Blind Vias
Table of Contents
When I was still a novice circuit designer, my boards would be crammed with components. I later learned how to place components on both sides of the circuit board, freeing up some desperately needed real estate. If only there was a way to free up space by hiding traces below the surface of the circuit board...
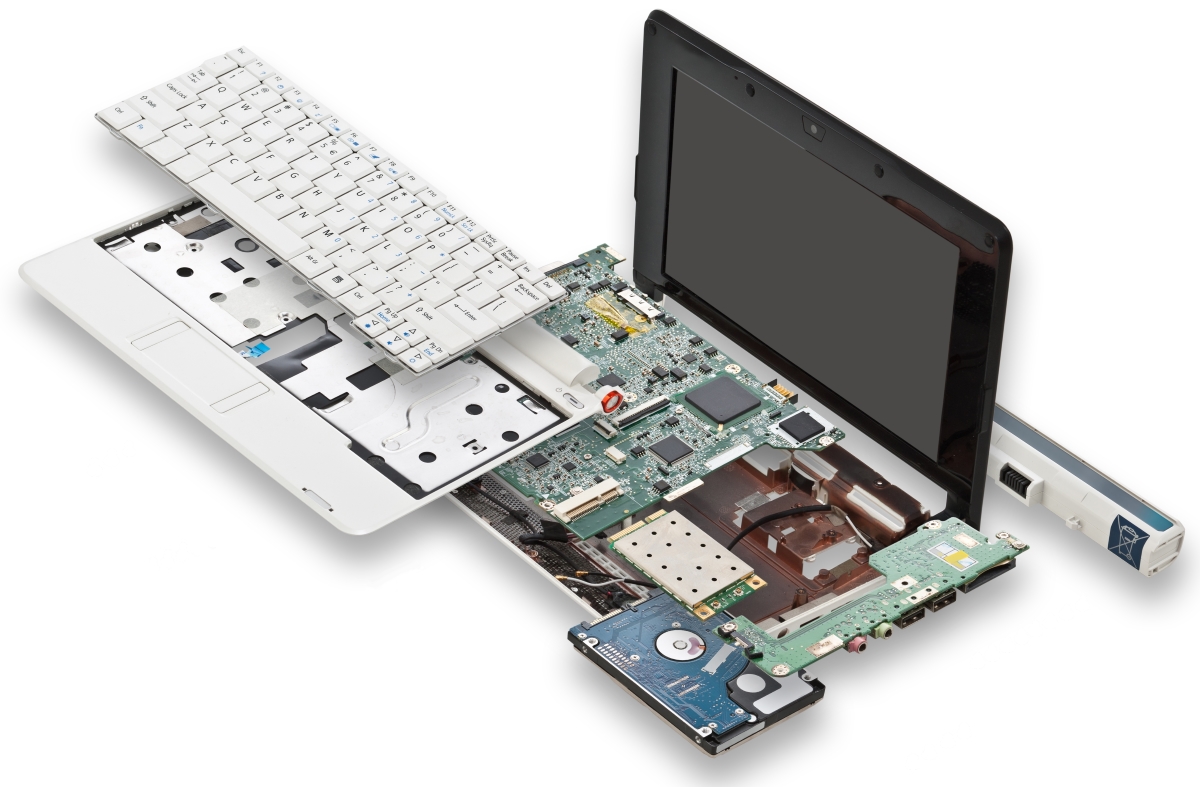
Newer devices are taking on smaller form factors, and the increasing demands for more capabilities will require that more components be packed into a single PCB. One way to increase the density of components (HDI PCB) and interconnections among components is through the judicious use of PCB vias.
In particular, blind vias PCB design and buried vias allow connections to be made between components, and the traces can be buried between layers in a multilayer circuit board. This allows a to enforce a smaller form factor for their PCB and increases the amount of usable space on the top and bottom layers. When blind vias are combined with buried vias, connections can be made between components on each surface.
Blind Vias vs. Buried Vias vs. Through-hole Vias
The distinction between blind vias and buried vias is important. In a multilayer board, blind vias connect an outer layer to an inner layer of the board. A buried via works in a similar fashion, but it only connects between the inner layers and does not connect to an outer layer. The key difference is that buried vias do not affect the placement of traces or other surface mounted components on the board.
Connecting buried vias in multilayer PCBs is easy compared to blind vias. Buried vias do not take up usable real estate on the top and bottom surface of the board, and components can be placed directly over a buried via. As long as designers obey the typical clearance rules for traces in the buried layers, buried vias are really no different than conventional vias.
A blind via still takes up a small amount of usable space on the board, but because the traces are placed in the internal layers, more usable space is left on the surface of the board. A blind via also provides access to a buried via as it connects the components on the surface of the board with buried layers. The standard clearance rules still apply to blind vias in order to prevent crosstalk in neighboring traces.
As its name suggests, a through-hole via is drilled through every layer of the board and allows connections between all the layers. The use of blind and buried vias is preferable and can actually reduce the form factor of your board by allowing designers to make connections between the surface components and a specific layer. Creative routing without through-hole vias allows you to meet your density constraints without increasing the board size.
Buried traces in a PCB
Design and Manufacturing Challenges
The use of vias presents many design and manufacturing challenges. As long as designers maintain the proper clearance for traces in the buried layers and surface layers, blind vias are really no different than any other via.
A via’s aspect ratio will affect its ability to be properly plated during manufacturing. Simply put, the aspect ratio is the ratio of the via depth to its drilled diameter. Most manufacturers should be able to produce vias with aspect ratios as high as 6:1, and some can produce aspect ratios of 10:1. Vias with large aspect ratio will be more difficult to plate. The plating solution must make its way through the drilled hole in order to deposit acceptable copper coverage.
Compared to through-hole vias, blind vias have smaller aspect ratio, even though the holes can have the same diameter. This means that a particular plating solution with low surface tension may have no problem coating a blind via, but its use may be restricted in a through-hole via.
Blind vias also have a tradeoff compared to through-hole vias. Boards with blind vias will have higher manufacturing costs as the board will require additional machining steps. The same applies to buried vias. Designers should verify their manufacturer’s capabilities before adding blind vias to their PCB designs.
The via size also affects the temperature rise in the printed circuit board due to the flow of current. A smaller via diameter leads to higher resistance and the via will dissipate more power as heat. This leads to a larger temperature rise for a given amount of current. This is especially important in a high current printed circuit board. If high-temperature is a problem, the vias should have a larger diameter and thicker plating.
Designing a printed circuit board with blind vias requires software that includes design rule checking and customization for traces and vias. A strong software program, like Altium Designer® which has all of these features and more, will also allow designers to easily visualize trace routing in all layers.
To learn more about how Altium Designer can make your design process more efficient, talk to an Altium Designer expert today.


