Practical PCB Tips and Tricks for an Unroutable Board

I grew up in the era before PlayStation ever existed. Back then, generic consoles reigned alongside premium counterparts like Super Nintendo and Sega. I first discovered my stubborn streak while playing Super Mario, a game where a funny looking character starts shooting fireballs after getting power-ups from mushrooms. I lost count of how many times I repeated the entire game even though I was always ultimately defeated at the last level. As there were no ‘saves’ and ‘continues’ back then, I spent countless hours trying to get the better of the villain crocodile boss character.
Thankfully, I was slightly smarter in dealing with problems routing my PCB due to size constraints. When starting your career as a hardware engineer, you may assume that PCB design is a fun process of arranging components and linking connections. That misconceived notion will soon disappear as you struggle to route a seemingly simple design for several days. If you find yourself staring at a board that you simply can’t route, try using these PCB design tips to jumpstart your routing strategy:
- Use smaller components
- Rotate components
- Rearrange your components
- Use smaller traces, vias, and clearances
- Use a multilayer PCB
What Makes a PCB Unroutable?
If you’ve been working in the industry long enough, then you know some designs can be difficult or impossible to route for a number of reasons. If you’re just getting started designing PCBs, you’ll eventually come upon a complex situation where the board is quite difficult to layout and route.
There are a number of reasons a board is unroutable, many of which are related to the layout choices you make right after schematic capture. A misconceived floor planning strategy, improperly chosen components, insufficient layers or the wrong layer stack, and mis-sized traces are all reasons a board may be unroutable. In some cases, you may be trying to fit too much into too small of a space, and you’ll have no choice but to increase the size of your board. However, before you decide to simply make your board larger and spread out your components, try some of these PCB layout tips and see if routing becomes easy again.
PCB Design Tips and Tricks for an Unroutable Board
1. Use Smaller Components
If you’re still using through-hole components, you should have good reasons for doing so. They occupy larger areas compared to their surface mounted counterparts. With that said, surface mounted components are available in various form factors, and opting for a smaller form factor may clear the path for copper traces to pass.
Sometimes, opting for a ball grid array (BGA) components instead of quad flat package (QFP) components can increase available area on the board during the routing process. Of course, using smaller form factors may make manual repair more difficult, as they demand a higher level of precision and technical skill.
Go smaller if you have to.
2. Rotate Components
You might be wondering, why would rotating components help fix an unroutable layout? Consider the type of board shown below. Here, the two ICs are facing each other, making it very easy to route traces directly between the two chips on the surface layer. If the left IC were rotated 90 degrees, the traces would need to move around the outside of the IC to make the required connections. If there is enough space on the surface layer, then this may not be a problem, although it can make placement of length matching structures difficult. If the surface layer is cramped, you may find yourself in an unrouteable situation.
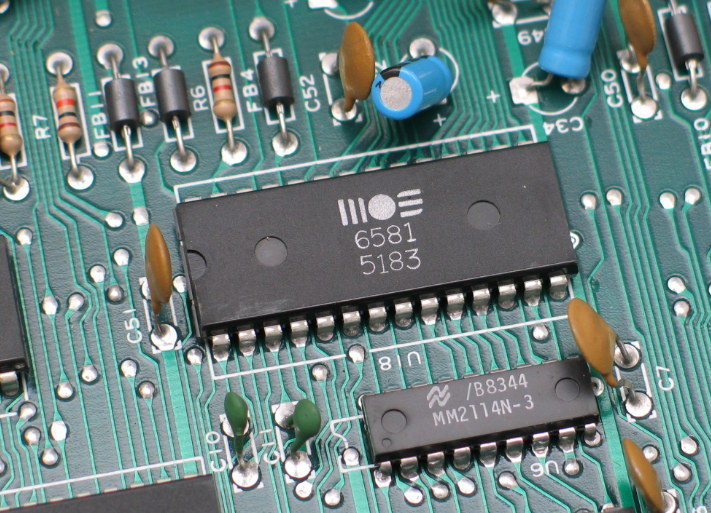
A simple rotation of a high pin count IC can align the pins and make routing tasks much easier.
3. Rearrange Your Components
This goes a bit beyond simply rotating components. This is all about creating the right floor plan for your board before you start routing your traces. Simple sense can sometimes help ensure components are neatly organized and no precious space is wasted. Try to pay attention to the following points:
- Place cascaded components near each other and in sequence. This eliminates unnecessary back-and-forth routing around the board.
- Consolidate components when possible. For example, instead of using multiple small resistors in parallel or in series, use a single resistor that provides the desired resistance.
- Group components into functional blocks, and place interacting blocks near each other. This reduces the space between groups of components that need to communicate with each other.
- Components that need to connect to an edge connector need to be placed closest to the connector. The other components in the signal chain should then be cascaded as described above.
You’ve probably read enough about how analog and digital components must be separated from each other into different sections of a mixed-signal board. ADCs then need to straddle the dividing line between these two groups of components to prevent mixed-signal interference. In this type of layout, place the components that need to connect ADCs closest, and cascade other components away from this portion of the board.

A simple rotation of a high pin count IC can align the pins and make routing tasks much easier.
4. Use smaller traces, vias, and clearance
Many circuit board designs from yesteryear used to be un-manufacturable, but many older manufacturing constraints have been overcome. Designers can opt for smaller vias, traces, and clearances when planning a layout, reaching down to the HDI regime in very dense boards. There are some caveats to this, which will restrict your ability to always use smaller traces:
- Impedance control: When traces in your board behave as transmission lines, as is the case at high frequencies and edge rates, you’ll need to use controlled impedance routing. This restricts the trace width you can use to specific values.
- Differential pairs: Differential pairs require specific spacing to ensure differential impedance takes a specific value.
- High current design: Traces carrying high current need to be designed with specific width to limit temperature rise.
- High voltage design: In boards running at high voltage, traces and other conductors need to be sufficiently spaced to prevent electrostatic discharge. Be sure to check creepage and clearance distances between exposed conductors.
5. Use a Multilayer PCB
Cost is definitely an important factor when it comes to the business aspects of electronics design. Most new designers opt for single or double layer designs when there are no immediate needs for a multilayer PCB. However, shifting the power and ground connections to the middle layers of a PCB will do wonders in freeing up enormous space on the outer layer. Having a large power and ground plane also provides a stable power supply for PCB components.
Use multilayer PCB for more free routing areas.
Modern designs are built on, at minimum, a 4-layer PCB. These boards have an internal power plane and ground plane, leaving the surface layers available for your components. As trace density and component density increases, you’ll need to go to many more layers to accommodate the additional traces required to make connections. These internal layers are critical for clustering more components on a board as they free up space on the surface layers. Be sure to follow best practices for PCB stackup design when working with multilayer boards.
Should You Try Autorouting After Following these PCB Design Tips?
The experienced designers I know swear against autorouters for a number of reasons. Typically, they are working on very complex designs that carry a number of design constraints, and these constraints simply can’t be accounted for in typical autorouter tools. Other times, the results from an autorouter will need to be modified anyways, and the designer can produce a better routing without rules violations without the autorouter.
If you’re still learning PCB routing strategies, or you’re just in the mood to experiment, it doesn’t hurt to give your autorouter a try. The fundamental algorithms in autorouters have steadily improved over time and are powerful enough to route evenly between layers in a multilayer board.
The other option is auto-interactive routing, which is a form of directed autorouting. With this type of tool, the designer provides high level directions to the tool by selecting specific points on the board, and the router fills in the gaps by routing traces between each point. This allows a larger number of traces to be routed simultaneously while complying with your design constraints. After confirming that your PCB is physically routable, you can start manually making certain critical connections before letting the automated portion of the tool complete the rest.

Auto-interactive routing directs traces between different points, and the router fills in the gaps between each point.
Still need more PCB layout tips? Stuck routing a physically impossible design? Try the set of routing tools in Altium Designer®. The routing features in Altium Designer are ideal for experienced designers and beginners. You’ll have access to automated and semi-automated routing tools, as well as length matching utilities for high speed designs. You can also find more general PCB design tips and tricks in Altium Designer's various tutorials.
Now you can download a free trial and find out if Altium Designer is right for you. Talk to an expert at Altium today to learn more about PCB design tips.
Related Resources


Related Technical Documentation


Table of Contents
Take advantage of the world's
most trusted PCB design system.
One interface. One data
model. Endless possibilities.
Effortlessly collaborate with
mechanical designers.
The world's most trusted
PCB design platform
Best in class interactive
routing
View License Options
Thank you, you are now subscribed to updates.