PCB Fabrication and Assembly Processes and Where Wave Soldering Fits In
Table of Contents
Growing up, I sometimes felt like an Army brat. My dad was in the Air Force, not the Army and we only moved a couple of times. Nevertheless, every time we relocated to a new city I had the same issues to struggle with. Basically, trying to fit into a new environment with new people.
From a PCB designer’s perspective, trying to learn about the PCB fabrication and assembly and what role certain processes play can be similar. It is advantageous to our design and development to apply good design for manufacturing (DFM) practices to ensure our boards can be made and they will be reliable. Therefore, it is important to know where and how the manufacturing process can be impacted.
Although they are clearly defined steps for the manufacture of PCBs, there are alternative techniques and materials that can and are applied by different manufacturers. The soldering method used to secure your components is one of these processes. The most well known and most used over the years has been wave soldering, which has certain advantages and disadvantages. Let’s take a look at the PCB fabrication and assembly processes and how you can design your board so that wave soldering can easily fit in.
PCB Fabrication Process
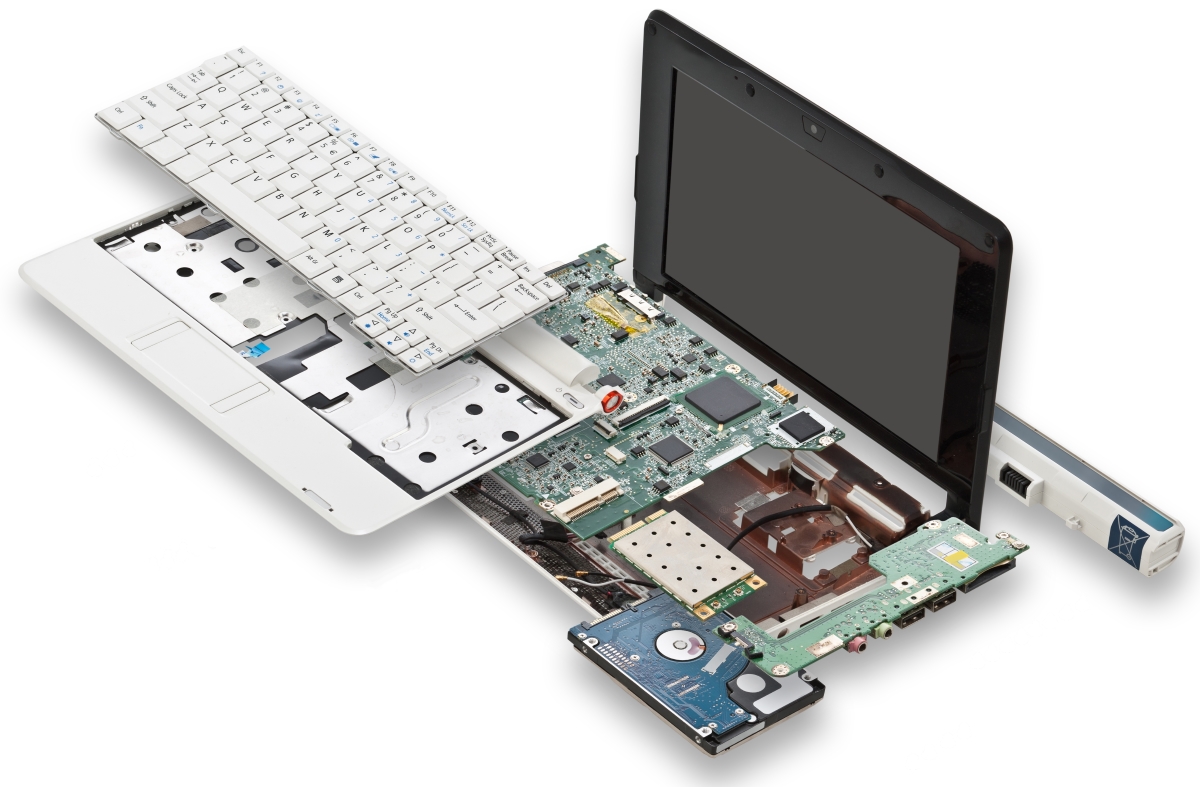
The objective of PCB manufacturing is to convert your software design into a usable device, the PCB, that contains the components you have defined and the defined connectivity. Fabrication is the first process here. During this process, the board is prepared for your components to be attached. Each step builds upon the previous one resulting in a PCB that contains all of the traces, drill holes, component pads and any additional imagery, such as logos or text.
The first step of the PCB fabrication process is to layout an image of the layout. This image should be exactly like the one you have created in software and may be printed on the board or an image overlay. The next step is the inner layer etching. During this step, excess copper is removed from the inner layers of the board, such that only the copper traces are left.
The next step is to add all of the layers that will make up the board, which is called the stackup. At this point, the PCB has been constructed, including all of the inner layers. The next step is the drilling of the holes, which includes vias and mounting holes. Once this is done, the outer layer etching is performed which leaves the surface layer copper traces. With the holes drilled, the plating can be done for vias.
The solder masking is done next, which covers all areas the board where solder should not be applied. The silk screening step is where symbols, pin 1 indicators, logos and other imagery is added. Lastly, the board is cleaned and any debris is removed. A protective layer is also added for protection. This is the finishing step of the PCB fabrication process. Now, the foundation whereupon your components will be attached, by soldering, is complete.
PCB Assembly Process
Once fabricated, your board is ready to have the components mounted. Every step during the assembly process is in support of the securing of your components to the PCB. The actual method of securing the components is by soldering. This is true whether the components are through-hole or surface mount devices (SMDs).
The soldering method used for through-hole and SMDs is typically different. Depending upon the components of your design, the assembly may vary slightly; however, the overall process can generally be defined by a specific set of steps. The first thing done to the fabricated board is to apply an initial layer of solder. If your design includes them, SMDs are placed so they are connected to the appropriate pads. To secure SMDs, solder reflow is performed where the solder is heated in an oven to form connections.
At this point, the connections are inspected to ensure good connectivity. If necessary, rework, which may include manual soldering or component repositioning is done. Next, through-hole components are mounted, if your design includes them. To secure through-hole components, a form of wave soldering may be performed, which is its most advantageous application.
This can be full-board wave soldering if your design has all through-hole components and they are adequately spaced or selective wave soldering where a directed jet spray is used to apply the solder. Again, an inspection of component connections is done. Any excess debris or potential contaminants are removed by washing and the boards are separated into individual units.
Where Wave Soldering Fits In
Wave soldering was the first automated method for securing components to PCBs. Over the years the method has been adapted to keep pace with the changes in component types and sizes that have occurred. Today, wave soldering competes with other methods that have arisen primarily to improve precision in solder application. Depending upon your component choices in your and board layout, wave soldering may still be the best technique for your PCB assembly.
Wave soldering has the following advantages:
- Speed - as all components for a given area are soldered at once it is faster than methods requiring individual pad soldering
- Through-hole component mounting - developed to solder multiple through-hole components simultaneously
and disadvantages:
- Lack of precision - solder bridges may form between pads that are close together requiring rework
- Resource usage - uses more solder, flux, and power than other processes
To address these problems selective wave soldering was developed where solder is applied by a jet spray to provide targeted application. This enables wave soldering to be applied where precision is required.
As with all PCB design, good design for manufacturing (DFM) should be applied. This can include making it easy to apply wave soldering such that it can fit into the PCB manufacturing of your board.
PCB fabrication and assembly are intended to create a platform for and mount your components such that your design will perform as intended. Your choice of components and their type With the right PCB design software package, such as Altium, and creation tool you are equipped with all the tools you need to make it easy to apply wave soldering to secure your components.
For more information about the advantages and disadvantages of wave soldering or other methods and how to design your PCB for them, contact an Altium PCB design expert.


