


Getting Started with the Renesas RA8D1 Evaluation Kit and Edge AI

At a Glance
Explore edge AI with the Renesas RA8D1 kit and Edge Impulse. Learn to train, test, and deploy image detection models easily on embedded hardware.


Training an AI model from scratch, even with existing datasets and help from friends, can be quite challenging. As we’ve seen in Understanding Neural Networks and Building Neural Networks on FPGAs, implementing the simplest embedded AI pipeline on hardware contains stumbling blocks every step of the way.
In this article, we’re going to look at a relatively new platform that does all of the heavy lifting for us, leaving the AI training complexities and convoluted compilation process to the experts. We’ll be experimenting with Edge Impulse using the Renesas RA8D1 evaluation kit for real-time edge AI image detection.
Getting Started: A Smooth Experience
Upon entering the website you’ll, very quickly, discover a nice, relatively simple interface. It’s also a bonus that we get to log in using existing external accounts (e.g. Google) versus having to create a whole new account. We can do the complete model training from scratch or upload a model ourselves:
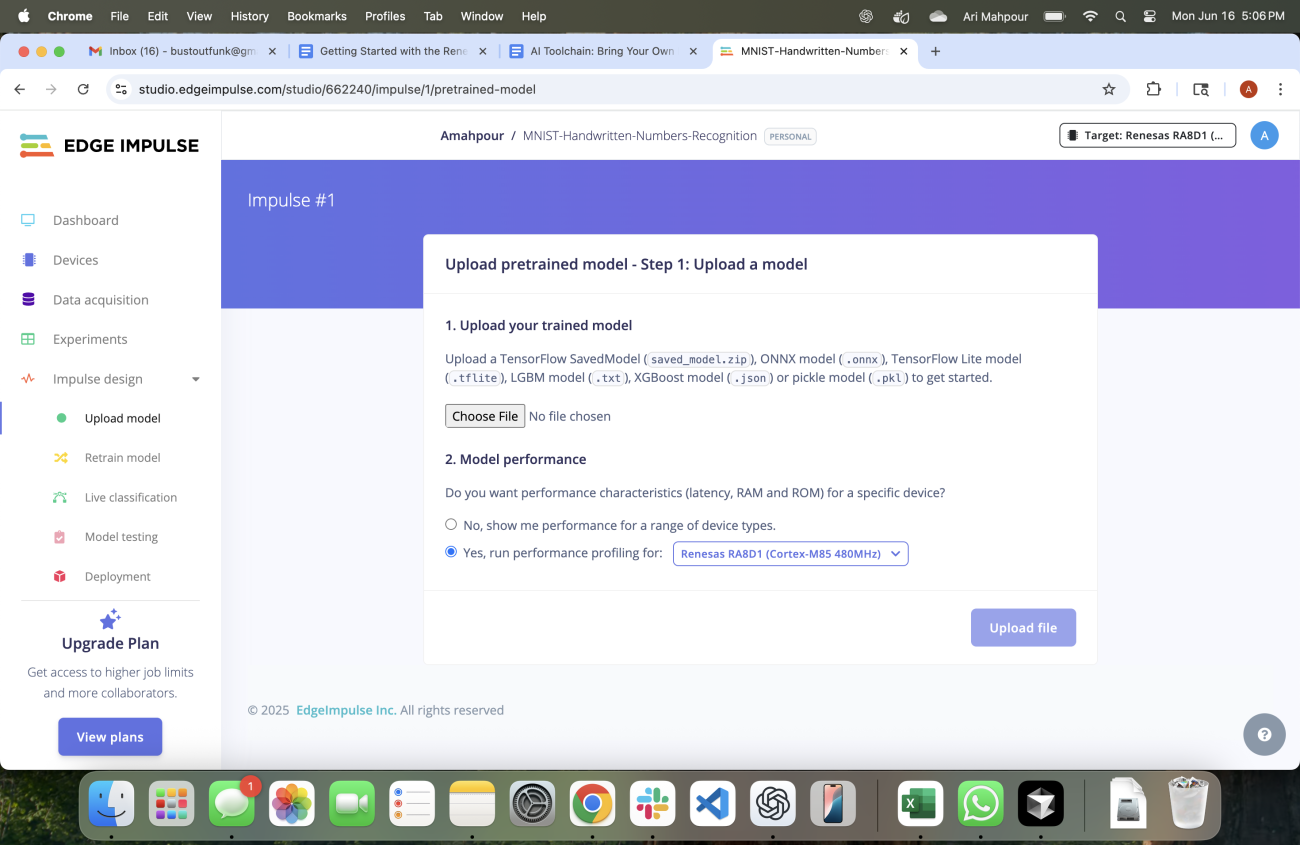
I prefer to take the model upload route because I know what I’m getting into. This is definitely the most advanced route but, luckily, I’ve prepared an example for you already here: https://gitlab.com/ai-examples/digit-recognition. Per the README you will need to install the pip package requirements using:
pip install -r requirements.txt
And then run:
python train_mnist.py
This will generate an onnx model for you that you can use to upload.
You can also run:
python test_mnist.py
to observe the model training results as well.
Running:
python generate_sample_images.py
generates a sample set of images that we will need to provide Edge Impulse for testing later on.
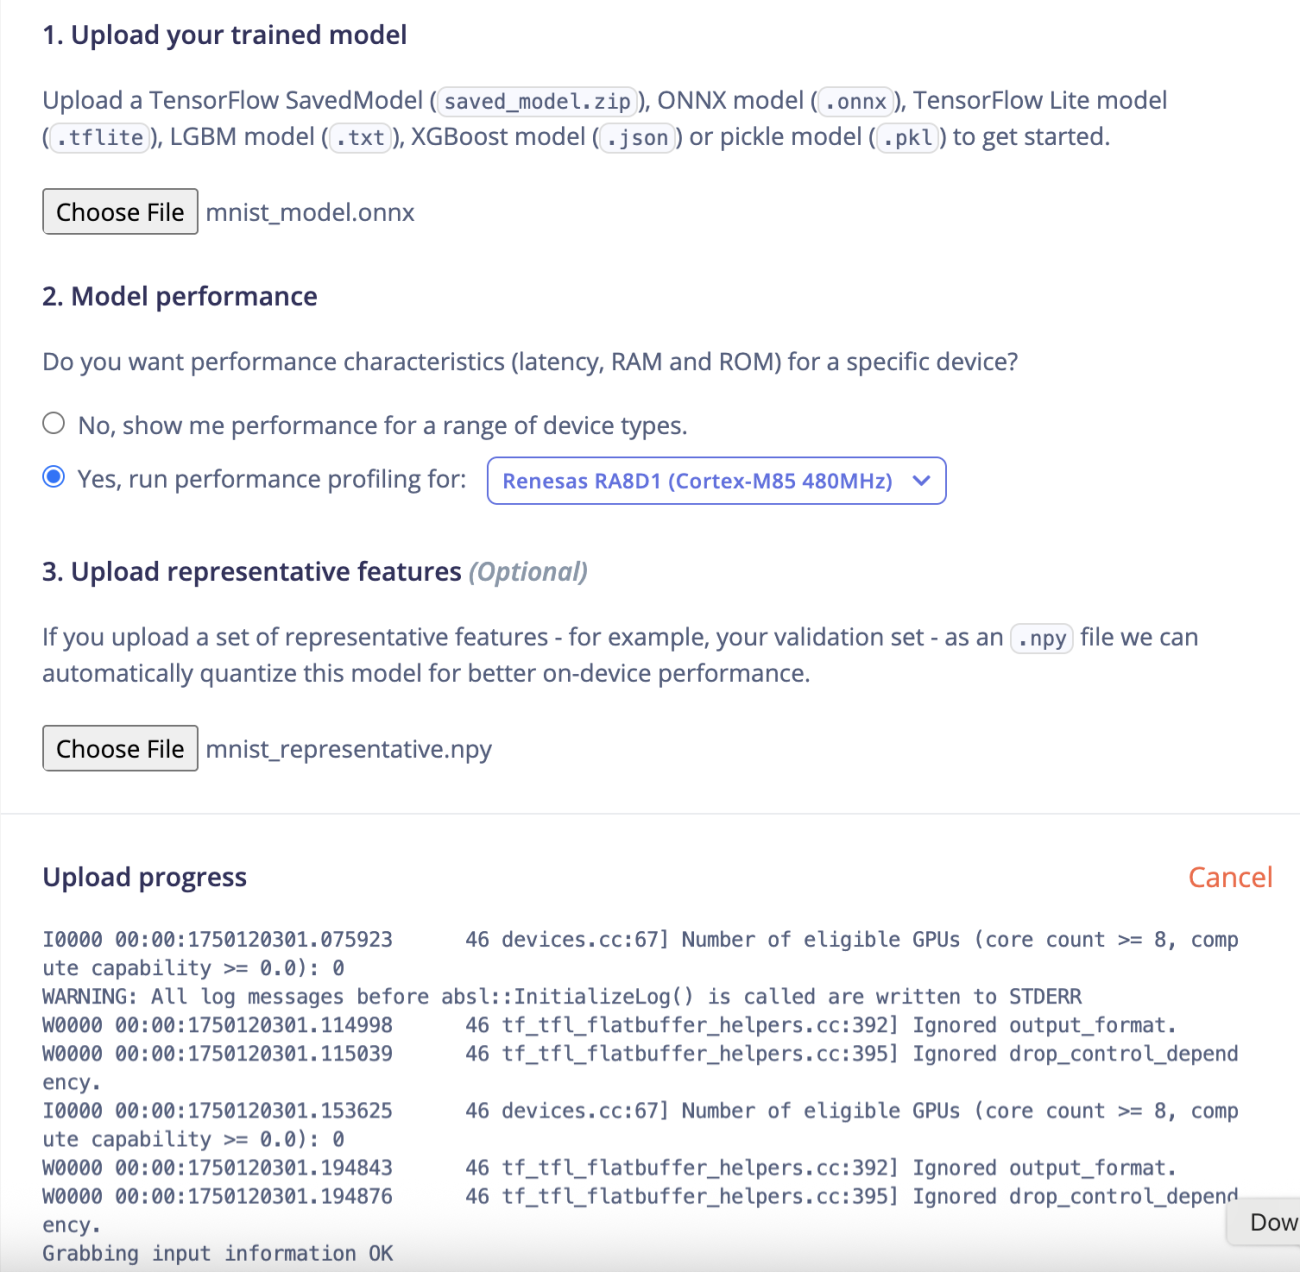
We can also add some test vectors in NumPy format (which was an artifact generated when we ran the above commands). Go ahead and upload the mnist_representative.npy file as well underneath the onnx upload button. At this point, the interface will provide progress to indicate that the model is being processed.
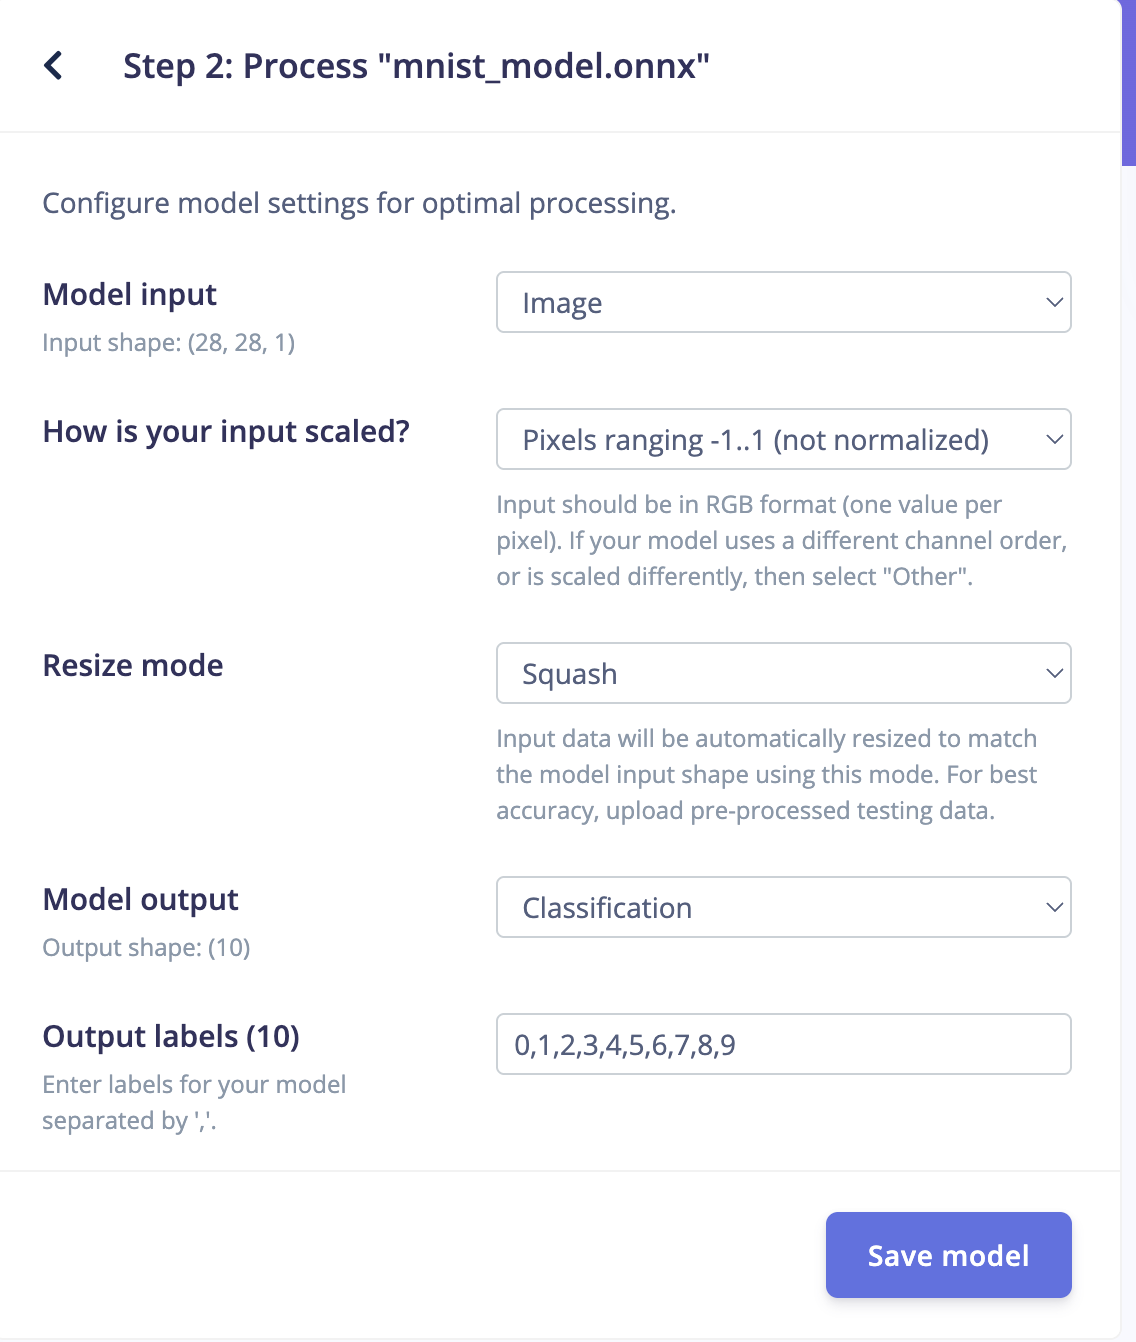
In the next step, we’ll need to fill in the model settings:
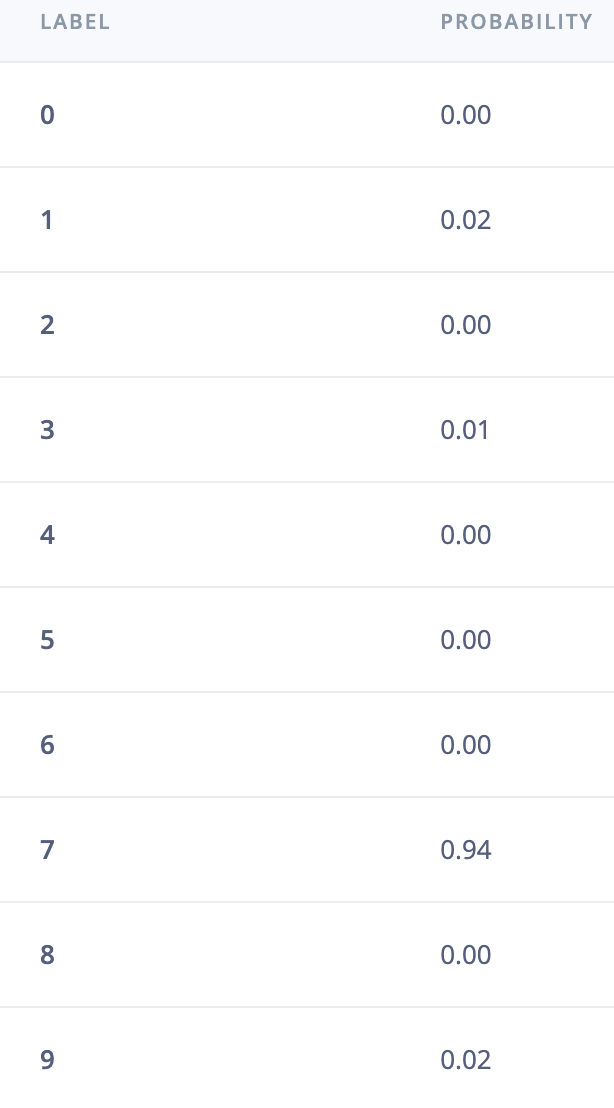
You can also take the opportunity to test your model using their platform (i.e. instead of running test_mnist.py from the repository). To do that, grab a sample image from the mnist_test_images folder (after you ran the commands above):
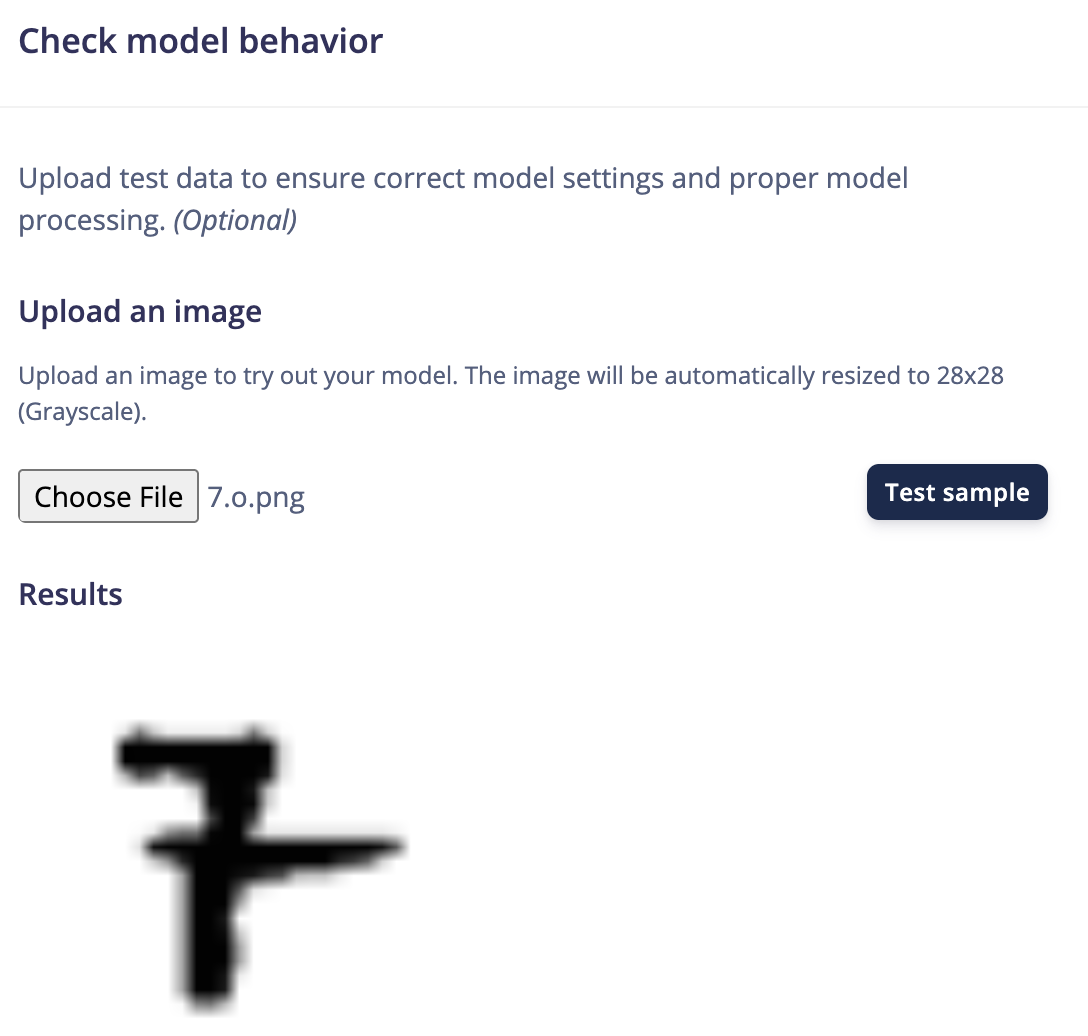
In this case, the results show it’s most likely a 7 (which is correct):
At this point, we can save the model and continue to the next step: deployment. In between configuring your model and deployment you can do all sorts of testing, retraining, or classification. Feel free to experiment with these features and play around with all the tools. For the purpose of this tutorial, we’re going to focus on the deployment to hardware next.
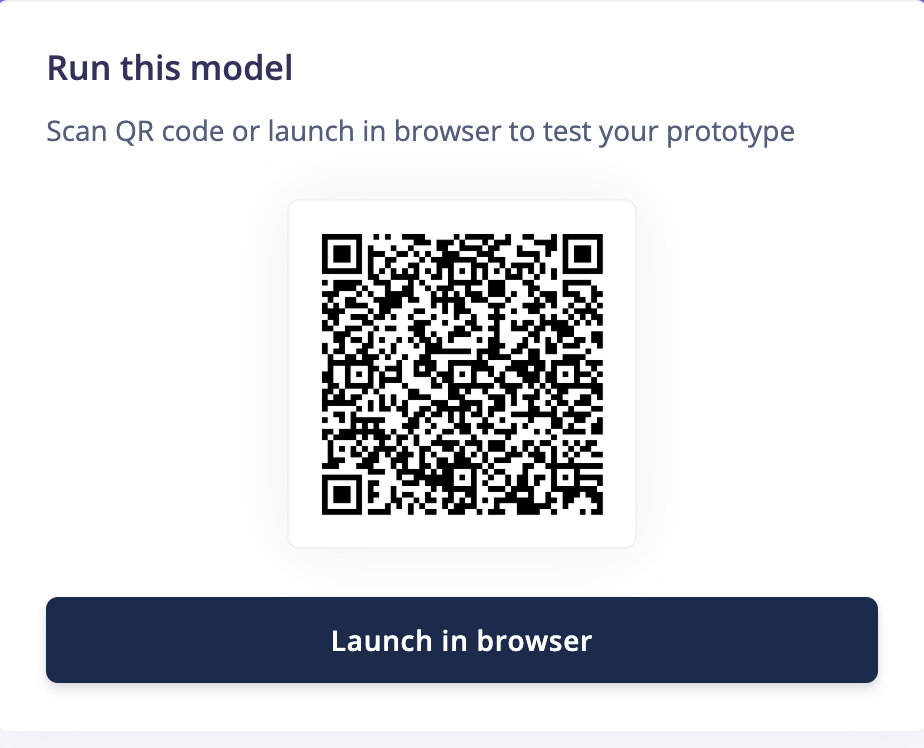
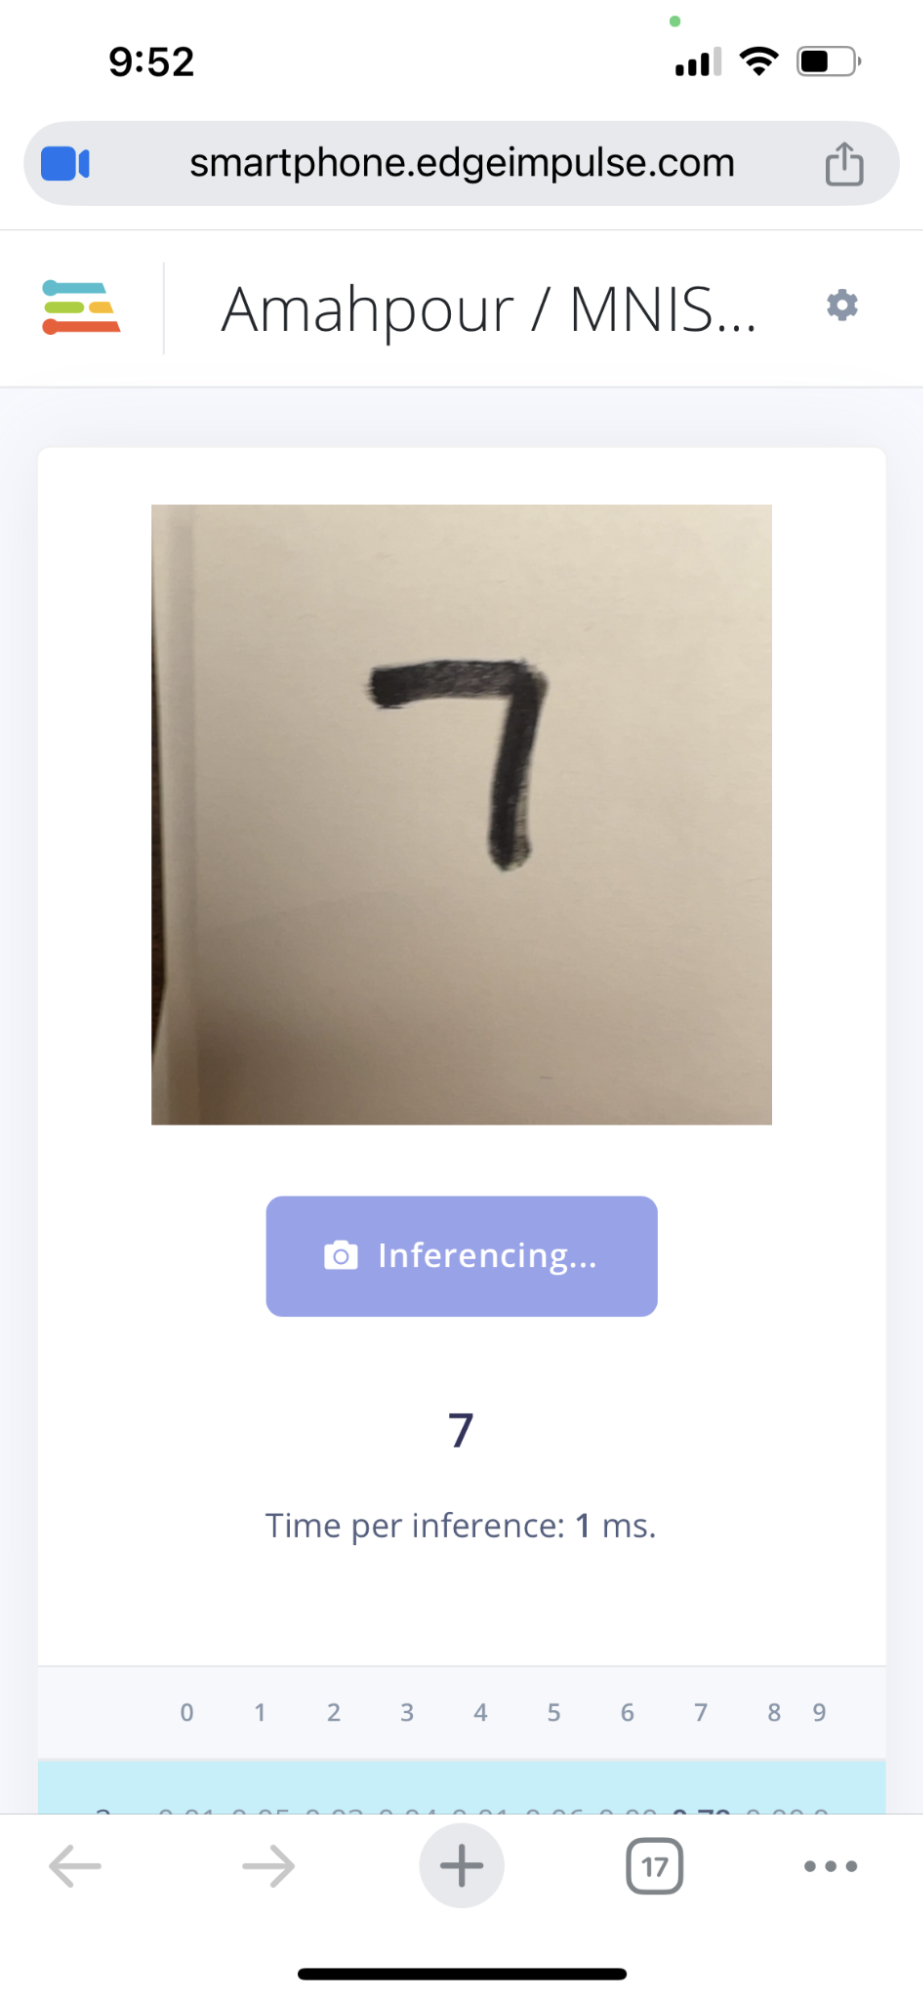
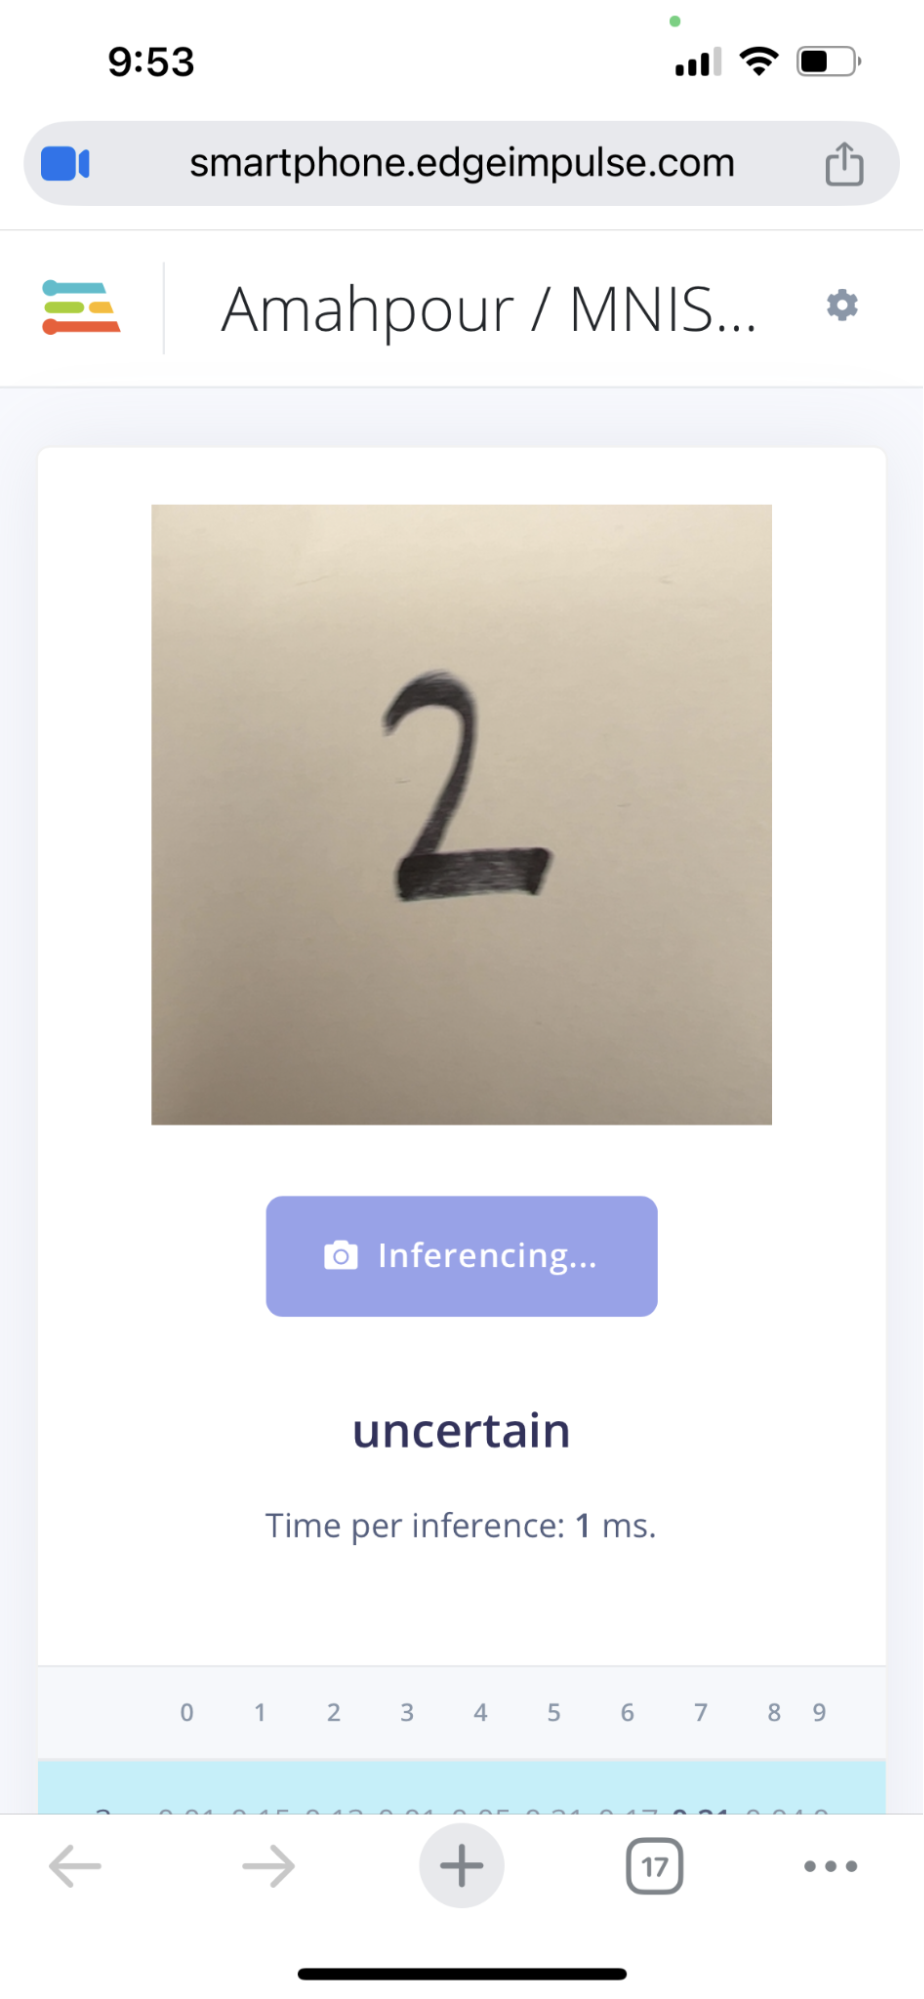
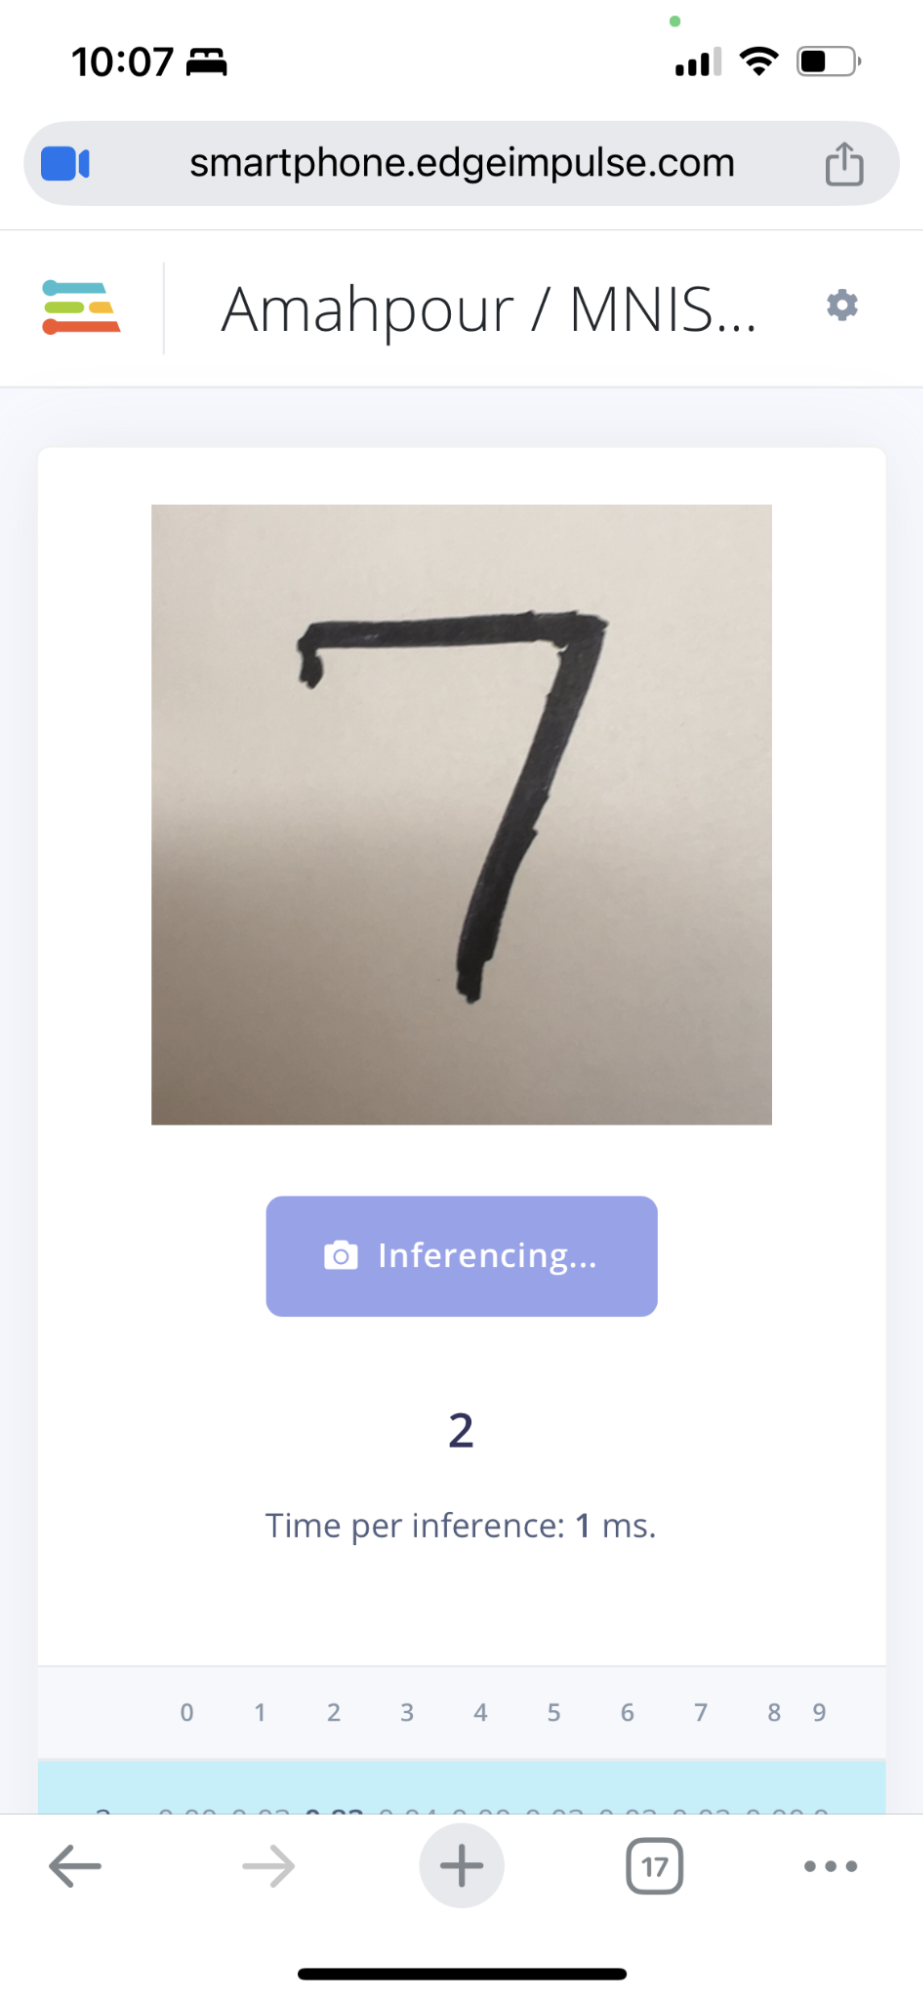
Before hitting the “Build” button in the deployment section, you can test the model on your computer with a camera or even your smartphone:
This example shows the model correctly being identified as the number “7.” This was done using my smartphone camera to take an image of a hand-drawn picture of the number seven.
After testing with your webcam or mobile phone, make sure you’ve selected the correct target board (the Renesas EK-RA8D1 in our case) and then hit the “Build” button. After the build process completes (which can take a while) you will be provided with a ZIP package containing all the necessary flash files to load up your development kit:
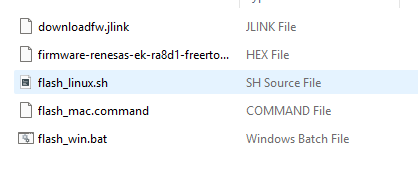
Keep in mind that you will need the J-Link software installed on your machine. At this point, you should be ready to plug in your board and run the flashing script. The folks at Edge Impulse were very thoughtful in that they provided us with flashing scripts for all three common operating systems: Windows, MacOS, and Linux. Run the “flash_” script per your operating system after plugging in your board. It will take a minute or two to flash the board but as soon as that happens you’ll see the screen refresh with a no-frills set of stats and camera display. Note: if the camera display is black, that probably means you forgot to take the cap off the camera.
I started off by placing my handwritten numbers (the same one tested with my smartphone camera) in front of the camera:
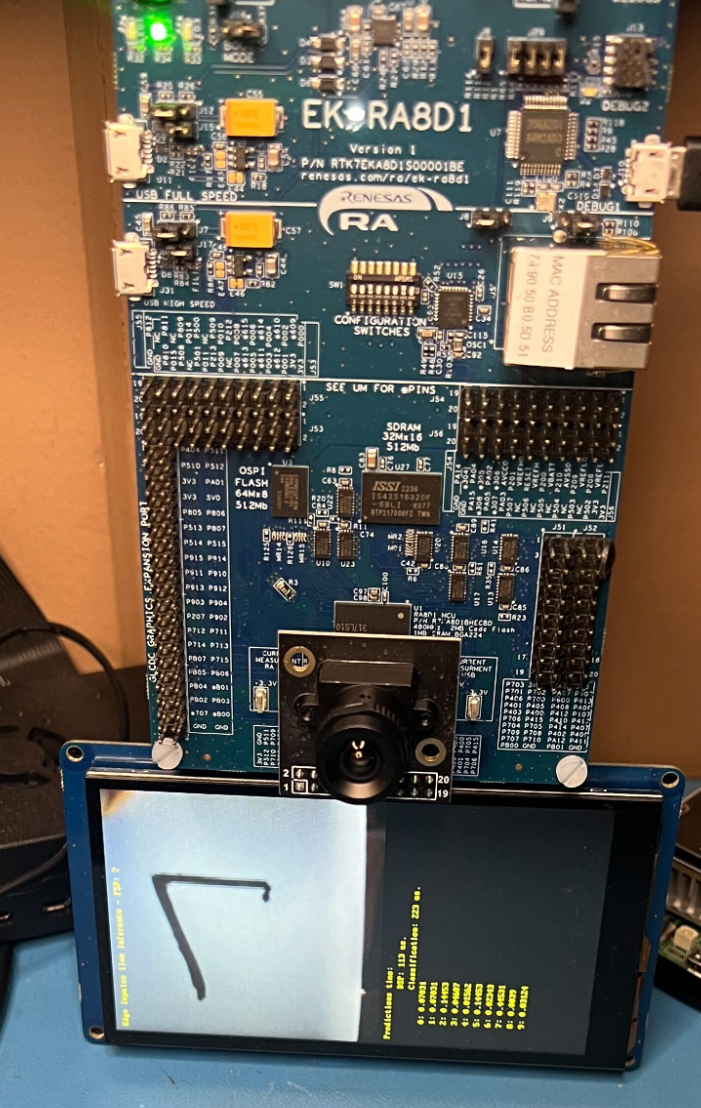
It’s hard to make it out in the image but each number has an associated decimal value that represents the likeliness it is that number. A score of 0 means it’s unlikely; a score of 1 means a perfect match (i.e. 0-100%). In this case, the value of 7 takes the win of the highest percentage but not with a definitive 1.00. Upon testing more handwritten values, I soon discovered that my model was off. I even tested it again against the smartphone camera version:
The model was clearly not as good as I thought. Was it my training data? Maybe my dataset wasn’t large enough? Perhaps my handwriting just didn’t match MNIST sample sets? These are all questions beyond the scope of this tutorial but it just goes to show that training AI/ML models are not as simple as we think (let alone trying to get them working on hardware). Regardless, it was still a fascinating and incredibly entertaining experience getting a fully working image-based AI/ML model working in such a tiny microprocessor chip.
Conclusion
Getting started with the Renesas RA8D1 Evaluation Kit and Edge Impulse offered a surprisingly smooth entry into AI at the edge. Even though training and deploying models can present challenges (e.g. dataset quality and model accuracy) the process is now more accessible than ever thanks to user-friendly tools such as Edge Impulse. Whether you're uploading a pre-trained model or training from scratch, this evaluation kit makes real-time image detection on edge devices a moderately achievable task. It's a great way to explore the power of AI at the edge and learn the real-world challenges faced with getting models up and running on hardware.
About Author
Related Resources
Related Technical Documentation
Table of Contents
Design to Release, Without the Friction
- Keep reviews tied to the right version
- Reduce handoff confusion and rework
- Spot sourcing and release risk earlier
- Work solo, share when needed
Get Started
Thank you, you are now subscribed to updates.