


Build Your Own Laser Range Finder

At a Glance
Build your own laser range finder using Raspberry Pi Pico. Explore RP2040 hardware, PCB design, BOM creation, and embedded firmware step by step.


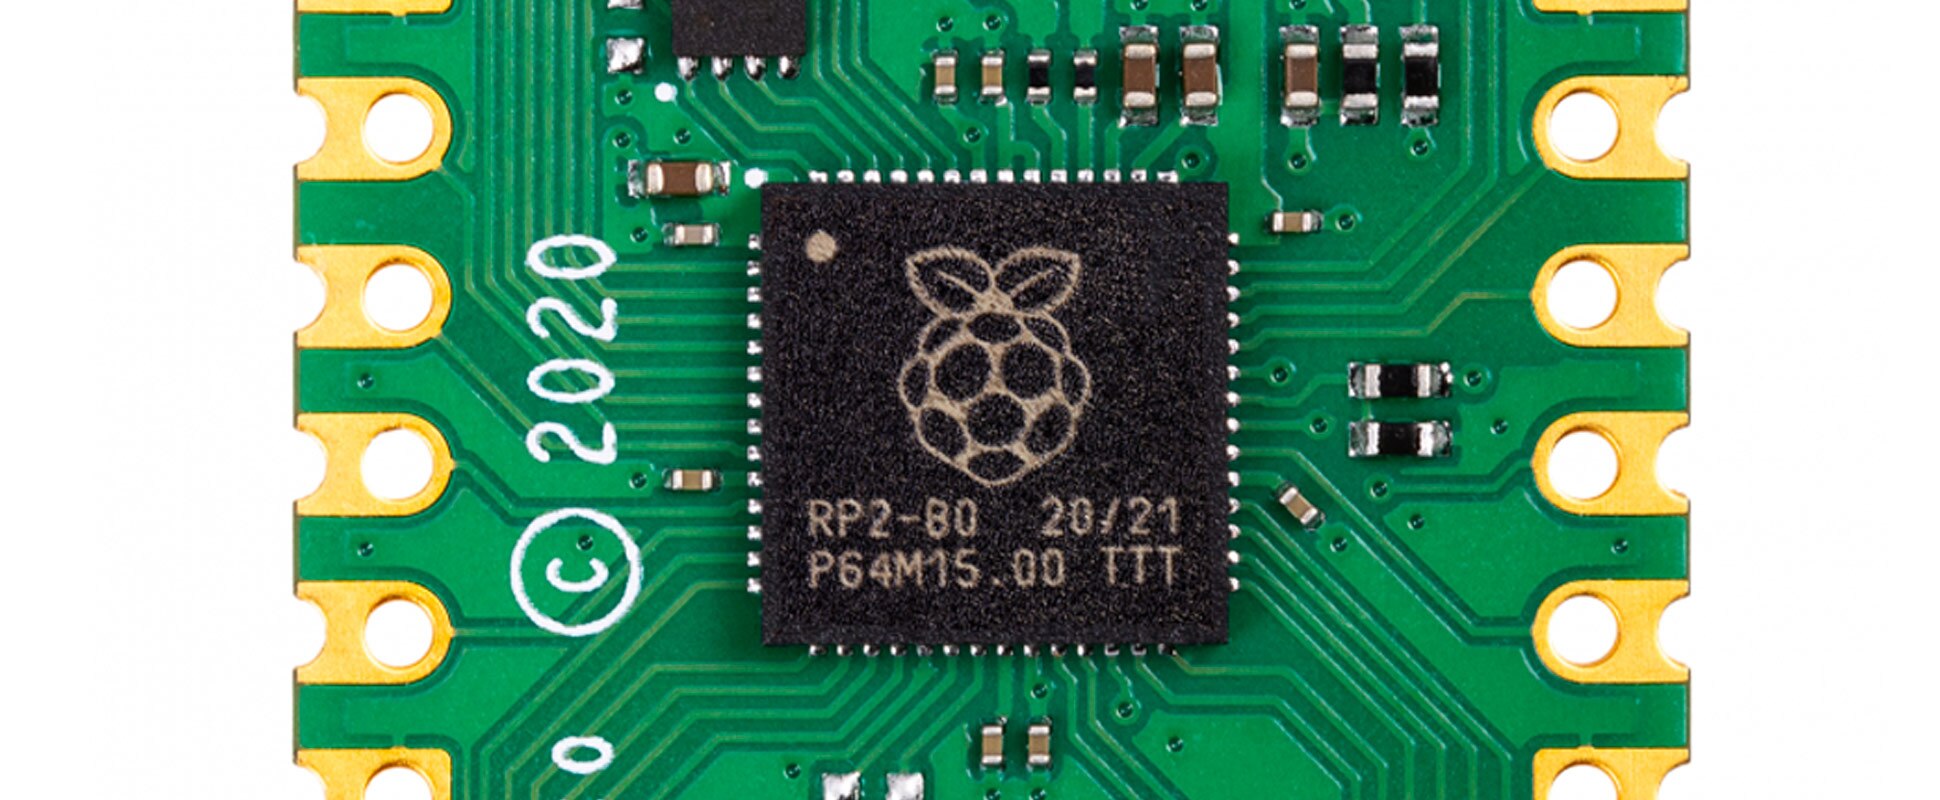
Raspberry Pi Pico (RP2040) is a cute piece of hardware. It is equipped with a powerful dual-core RP2040 microcontroller that offers 2M (up to 16M) Flash and 264K SRAM memories. Such specifications for an MCU make it suitable for a variety of hobby and industrial applications.
In this article, I used an RP2040 Zero board, a VL53L0X Laser time-of-flight ranging sensor, and a 2.4” TFT display to build a graphical laser rangefinder unit that can be used to monitor the distance, check the liquid level, etc. The board is also equipped with a relay and a buzzer that allow the user to provide distance-related acoustic signals or activate/deactivate an external device, such as a pump, brake, etc.
The trickiest part of this project was the Pico code. I used the Pico C/C++ SDK V1.5 library and invested a significant amount of time in designing the GUI using the LVGL library and debugging the code. To run all MCU tasks simultaneously, I used an RTOS and engaged both cores of the MCU. The development was carried out using the VS Code IDE, including the GCC ARM 12.2.1 compiler.
To design the schematic and PCB, I used Altium Designer. By using the Octopart website, I was able to quickly gather the necessary component information and generate the BOM. It's a cool piece of hardware, so let’s get started!
About the Raspberry Pi RP2040
The RP2040 is a dual-core Arm Cortex-M0+ microcontroller developed by Raspberry Pi Ltd and released in 2021. It runs at up to 133 MHz and is designed as a low-cost, high-performance device aimed at embedded applications where flexibility and programmability matter more than peripheral density. Unlike many microcontrollers in its class, the RP2040 includes a programmable I/O (PIO) subsystem that allows designers to implement custom serial protocols and signal interfaces entirely in hardware without consuming CPU cycles, which gives it unusual versatility for a device in its price range.
Key features and peripherals include:
- Dual Arm Cortex-M0+ cores running up to 133 MHz
- 264 kB on-chip SRAM; no internal flash, external QSPI flash required
- 2 PIO blocks with 8 state machines total for custom hardware interfaces
- USB 1.1 controller with device and host support
- 2x SPI, 2x I2C, 2x UART, 16x PWM channels
- 4-channel 12-bit ADC with internal temperature sensor
- 30 GPIO pins, of which 4 are ADC-capable
- DMA controller with 12 channels
- On-chip clock generation with PLL
The RP2040 is most commonly used as the primary processing element on a small carrier board or module, where it handles sensor data acquisition, USB communication, and real-time I/O control simultaneously. Its dual-core architecture allows designers to partition tasks cleanly, running time-critical routines on one core while the second handles communication stacks or application logic. The PIO subsystem extends this further by offloading protocol-level signaling, which makes the RP2040 a practical choice when a design requires interfaces that standard peripheral blocks do not support natively.
Specifications
- Input Supply Voltage: 5V-Regulated (USB Type-C or wire-to-board connector)
- Current Consumption (maximum): 200mA
- Measurement Range: Adjustable 30mm to 1000mm (2000mm long range)
- Distance Resolution: 1mm
- Sensor Error: 3% (best) to 10%
A: Circuit Analysis
Below you have the schematic diagram of the device. As it is clear, the heart of the circuit is the RP2040-Zero board. Figure 1 shows the pinout.


Figure 1: RP2040-Zero Board Pinout
A-1: Power Supply
The board can be powered either using a USB Type-C cable (C-Pow connector in the schematic), a mobile-phone charger for instance, or through an XH wire-to-board connector (POW connector in the schematic). The supply voltage in both cases should be 5V.
FB1, C6, C8, and C11 are used to reduce the input voltage noises. The connection point of the Relay’s supply is before FB1. REG1 is the famous 1117-3.3 regulator that stabilizes the voltage at 3.3V. D4 is an LED to indicate a proper supply connection and R8 limits the current to D4. C7 and C9 are output capacitors for noise reduction and output stabilization. For the full power handling of USB-Type C, CC1 and CC2 pins of the C-Pow connector should be pulled down using R9 and R13 resistors.
D3 is the SS14 Schottky diode to protect the supply and the board when both the USB connection of the RP2040 and the supply of the board (either USB Type-C or XH connector) are connected.
A-2: Relay
The Relay driver circuit consists of Q1 Mosfet (Si2302) and a few other components. R5 is a pull-down resistor to prevent unwanted triggering of the Q1 gate. D1 protects the Mosfet against Relay’s coil reverse currents and C1 damps possible voltage spikes. D2 is a Red LED to indicate the ON/OFF status of the Relay (LM1-5D).
A-3: Push Buttons
To modify the range finder parameters, I have implemented 3 tactile push-buttons (SW1, SW2, SW3). R10, R11, and R21 are pull-up resistors, and C10, C12, and C13 are used to debounce the push-button’s switch noises. In the code, I have implemented an RTOS task just to read the state of these buttons.
A-4: Buzzer
I have embedded a buzzer connector (BUZ on the schematic) to include distance-related acoustic signals to the board. You can enable/disable this feature on the GUI or modify the “Buzzer” task in the code to own your own sound pattern. T1 is the 2N7002 N-Channel Mosfet to turn ON/OFF the Buzzer. R14 is a pull-down resistor to prevent unwanted triggering of the Gate pin of the Mosfet.
A-5: Laser Sensor
The VL53L0X is the laser range finder module of the circuit (Figure 2). The VL53L0X 4-Pin XH pin header is the connector for the module. The RP2040-Zero and the VL53L0X communicate through I2C. Theoretically, it can measure distances up to 200cm away, however, in practice, the effective range heavily depends on sensor configuration, ambient conditions, and target characteristics like reflectance and size.

Figure 2: VL53L0X Time-of-flight Sensor
A-6: TFT Display
I used a colorful 2.4” 40-Pin TFT display. The resolution of the display is 320*240. The controller chip of the LCD is ILI9341. Figure 3 shows a picture of the LCD and pinouts. You must order an LCD type without a touch screen. In the schematic, C2 and C3 are decoupling capacitors for the TFT supply. R2, R3, and R4 define the TFT communication type (selection is 8-bit SPI).

Figure 3: 2.4” ILI9341 TFT display pinout
B: PCB Layout
Below I share with you a PCB Layout project and an assembly drawings of this laser range finder. It’s a two layers PCB board and the majority of the components are SMD. I set the SPI speed at 40MHz. Therefore, the distance between the LCD FPC connector and the SPI pins of the RP2040 board is short.
C. Assembly and Test
Figure 4 shows the fully assembled PCB board. The most difficult component to solder is the 40-Pins FPC connector. If you don’t have experience in micro-soldering and necessary equipment such as quality flux, soldering irons, hot air, and iron tips, please do some practice before, otherwise, it is pretty easy to damage the connector, PCB tracks, or build solder joints between the tiny 0.5mm-pitch pins of the connector.
After you finished soldering the PCB, power the board using a USB Type-C mobile charger or through the “POW” XH connector (5V). Erase the whole memory of the RP2040 MCU using the “flash_nuke.uf2” file, then burn the compiled “Laser.uf2” file into the chip.

Figure 4: Assembled PCB board of the RP2040-Zero Powered Laser Range Finder
You can download all project files, including project source code, from here.
Projects like this highlight how much value comes from keeping schematic design, PCB layout, component data, and iteration tightly connected as the design evolves. Altium Develop brings Altium‑grade design tools into a streamlined workflow that helps engineers move from concept to review to release with fewer handoffs, less rework, and greater confidence in the design data. Get started with Altium Develop →

About Author
Related Resources
Table of Contents
Design to Release, Without the Friction
- Keep reviews tied to the right version
- Reduce handoff confusion and rework
- Spot sourcing and release risk earlier
- Work solo, share when needed
Get Started
Thank you, you are now subscribed to updates.

