Controlling High Current LEDs with a TIP3055 Power Transistor and Voltage Regulator
One of the occupational hazards of being a hardware is a growing belly size that is proportional to age. That’s why I try to keep myself fit with a regular workout at the gym. Power bars are indispensable in helping me get through my workout routine by keeping my energy levels high during the entire session.
In electronics, the power transistor is equivalent to the power bar. It handles high current components, such as hundreds of LEDs drawing more than 10 A from the power supply. Choosing the wrong transistor or making a mistake in the PCB design severely damage the hardware.
Challenges in Controlling High Current LEDs
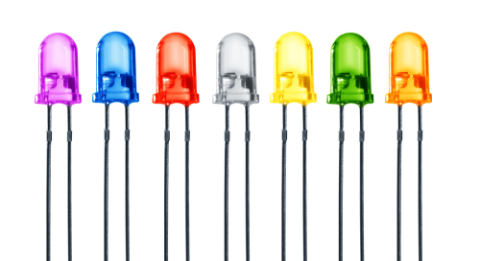
Turning on a single LED is a straightforward process. All it takes to light up an LED is a single limiting resistor connected across a power supply and LED. The LED can be directly driven by the pin of a microcontroller with no issues. There are basically no worries about the resistor heating up or the PCB trace breaking off due to excessive heat.
It’s an entirely different story when you’re attempting to control hundreds or thousands of LEDs from a single microcontroller output pin. Assuming a single LED consumes 10 mA, a hundred similar LEDs bring the total current to 1A, which is pretty high for an embedded system. sense says that attempting to turn on the LED by sinking the current will immediately and irreparably damage the microcontroller.
What’s even more challenging is turning on multiple points of hundreds of LEDs simultaneously, using a microcontroller. This does frequently happen in architecture model lighting, where individual zones may be lighted up with a group of LEDs. A smart solution, in these cases, is to use power transistors to drive the group of LEDs.
What is a Power Transistor?
A power transistor is generally the same as a signal transistor, except that it can channel a more substantial amount of current when driven to the ‘On’ state. Besides that, power transistors are usually available in a package that can easily and efficiently dissipate heat.
What power transistors usually look like.
You’ll find power transistors in the form of Bipolar Junction Transistor (BJT) and the metal-oxide-semiconductor-field-effect transistor (MOSFET). BJT transistors are further separated into NPN and PNP, while nMOS and pMOS form the family of MOSFET. Generally, a BJT transistor is turned on by the presence of the current at the base, while MOSFET is controlled by the voltage at the gate.
When it comes to controlling high current LEDs, three critical parameters matter: the maximum load current; the minimum current or voltage required to turn on the power transistor; and the thermal resistance.
Designing With a TIP3055 Power Transistor
The TIP3055 is an NPN power transistor capable of handling a continuous load current of 15A. To turn on the transistor, a forward bias voltage needs to be applied on the base-emitter junction. When the base current flows, the collector-emitter will be conductive. The TIP3055 is available in TO-218 and TO-247 package, both with metal plating to dissipate excessive heat.
Getting the necessary circuitry right is only the first step in designing with the TIP3055 power transistor. As it is used to control high current components, the power dissipated by the transistor can lead to high temperatures. A heatsink, whether physically added or designed within the PCB itself, is helpful in preventing excessive heat built-up.
Heatsinks help keep the temperature under control.
Another mistake when designing with a power transistor is insufficient trace width to handle the high amount of current. Both the collector and emitter must be connected with thick PCB traces with the width calculated accordingly to the current, temperature and copper thickness.
With any amount of current, it is vital that you keep track of output voltage and voltage drop, ensuring that your device works properly and without any unnecessary risks. Your power supply circuit should be easily navigable in your circuit diagram. Voltage regulator and heatsink might be strong options for your designs.
When you need to access an easy-to-use PCB layout tool that includes everything needed to build high-quality manufacturable circuit boards, look no further than CircuitMaker. In addition to easy-to-use PCB design software, all CircuitMaker users have access to a personal workspace on the Altium 365 platform. You can upload and store your design data in the cloud, and you can easily view your projects via your web browser in a secure platform.
Start using CircuitMaker today and stay tuned for the new CircuitMaker Pro from Altium.

