


Automating MicroPython Development and Testing Using Continuous Integration


In Getting Started with MicroPython and the Raspberry Pi Pico we looked at how to set up, configure, and run MicroPython on a Raspberry Pi Pico device. In this article we will be focusing on automating that process and turning it into a Continuous Integration (CI) pipeline. Moving the automation into CI will guarantee that our code gets tested every time we push a commit to our code repository
Automating MicroPython Commands and Development
Now that we’ve seen how to get started with MicroPython and the Raspberry Pi Pico device we’ll want to find ways to automate our code development process a bit more. In Getting Started with MicroPython and the Raspberry Pi Pico we ran a few different commands to demonstrate different feature sets of the Raspberry Pi Pico device. In this article we’re going to look at how to automate one of those examples using scripts and then putting it into CI. Let’s first look at the example we ran from the terminal:

This command provided us with the machine instance information. In our case:

This tells us that we’re running MicroPython version 1.19.1 on a Raspberry Pi Pico using the RP2040 chip. Rather than running this command through an interpreter shell using PuTTY or Thonny IDE we can actually run the whole process from the command line using a tool that comes bundled with the MicroPython library. The Pyboard.py tool provides us with a mechanism to run commands directly on the target device without opening up an interpreter shell (or loading new files directly onto the board). Additionally it provides us with other file system commands such as listing and copying files to/from the target device. For example, one could run the sys.implementation command (above) using the Pyboard.py tool like so:
python pyboard.py --device $TARGET_PORT --command "import sys; print(sys.implementation)"
where $TARGET_PORT is the COM port that your device shows up as. This skips the PuTTY/Thonny IDE step and allows for automation.
Integrating Code into CI
Now that we can automate command execution remotely on our target device we should be able to fold this into a full on Python script. Turns out that using the Pyboard library is pretty straightforward. In this example Python script we run the same command above with some extra fancy footwork (such as automatically detecting the COM port and adding some assertion based checks). The principle, however, is the same: grab the machine instance and validate what we think we’re running on.
Once we’ve encapsulated all of this into a script we can now drop it into a CI system. As usual, I am using Gitlab for my implementation but my own runner to program the Raspberry Pi Pico device. You can follow along the whole project here but the file of interest is the .gitlab-ci.yml script. This contains the “instructions” for the builds to occur automatically every time I make a change to my code and push it back to Gitlab.
There are several “jobs” here that occur but only one that doesn’t involve the Raspberry Pi Pico device: the Docker build stage. Building a Docker container encapsulates our environment into something like a virtual machine. If I run my CI job within a Docker container I can run it practically anywhere (given a few minimum requirements). In this case I don’t need any special libraries installed on my Desktop computer that’s hooked up to my target device because the Docker container comes with all of that. The only distinction I must make here is that my Docker container must be run in “privileged” mode (or at least given explicit permission to access the target device) otherwise it won’t be able to communicate with the target device.
Once my Docker container builds I am able to retrieve the image from Gitlab every time a job is run and then the fun begins. You’ll notice that my jobs become increasingly more abstracted and, thus, more complex. Finally in the last job we run the whole process through the Pytest Framework
Using Pytest with MicroPython
If you’re familiar with some of my previous articles such as FPGAs: Creating Continuous Integration Pipelines for Embedded Systems or PCBs, Low-Cost Verification for Digital and Analog Filters, and Configuring a Hardware in the Loop Project you’ll notice that I am a pretty big fan of the Pytest framework. MicroPython is no different in this case and I still default to Pytest as my brain dead simple way to validate some of my Python scripts.
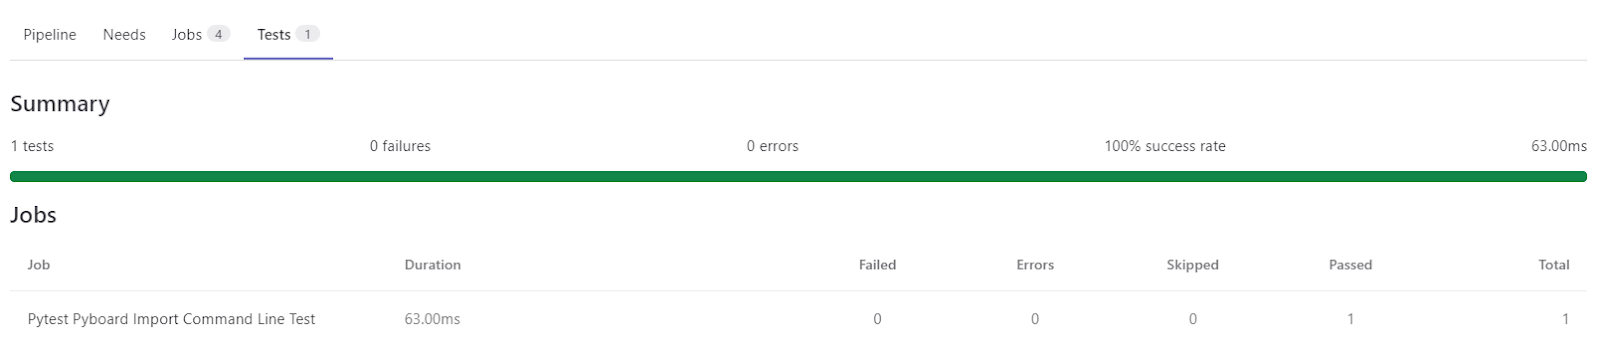
The last CI job that is called runs the test_rpi_pico.py Pytest script. This is almost identical to rpi_pico_check.py script except it creates a test report. As always, we take that test report and submit it to Gitlab for parsing so we can get that little test section showing passing results:
Figure 1: Test summary for Pytest
This simple test validates the information we looked at in the previous article. What’s nice about what we’ve done here is the automation. Any time code is modified we run a check to ensure it’s the device we’re expecting it to be. In this case, we’re running MicroPython version 1.19.1 on a Raspberry Pi Pico using the RP2040 chip.
Conclusion
In this article we recalled the manual steps involved in communicating with a Raspberry Pi Pico device. We then took that manual process and turned it into a script. After automating the process via a script we looked at how to integrate the workflow into a CI system and then incorporate it with Pytest. After going through the examples in this article you should be able write your own scripts and even integrate them into CI.
About Author
Related Resources
Related Technical Documentation
Table of Contents
Design to Release, Without the Friction
- Keep reviews tied to the right version
- Reduce handoff confusion and rework
- Spot sourcing and release risk earlier
- Work solo, share when needed
Get Started
Thank you, you are now subscribed to updates.