


How to Run Altium Designer on Linux

At a Glance
Looking for a PCB design software for Linux? Take a look at running Altium Designer via VirtualBox - electronic CAD software for PCB design on Ubuntu.


An increasing number of developers are starting to run Linux natively on their machines. This becomes a point of frustration when they discover tools, such as Altium Designer (included in Altium Develop and Altium Agile), are not available for Linux. Fortunately, you can run the full Windows version of Altium Designer inside Linux with a little bit of a compromise.
In this article, we’re going to walk through getting Altium Designer running smoothly on Ubuntu 24.04 using Oracle VirtualBox and a standard Windows 11 ISO.
Installing VirtualBox on Ubuntu
VirtualBox is an open-source virtualization software that lets you create a complete Windows environment inside Linux. It’s available directly from virtualbox.org. You will also need to download a Windows 11 Disk Image.
Since we’re using Ubuntu 24.04, you’ll need to download the Debian package for Ubuntu 24.04, then install it from a terminal:
sudo dpkg -i virtualbox-*.deb
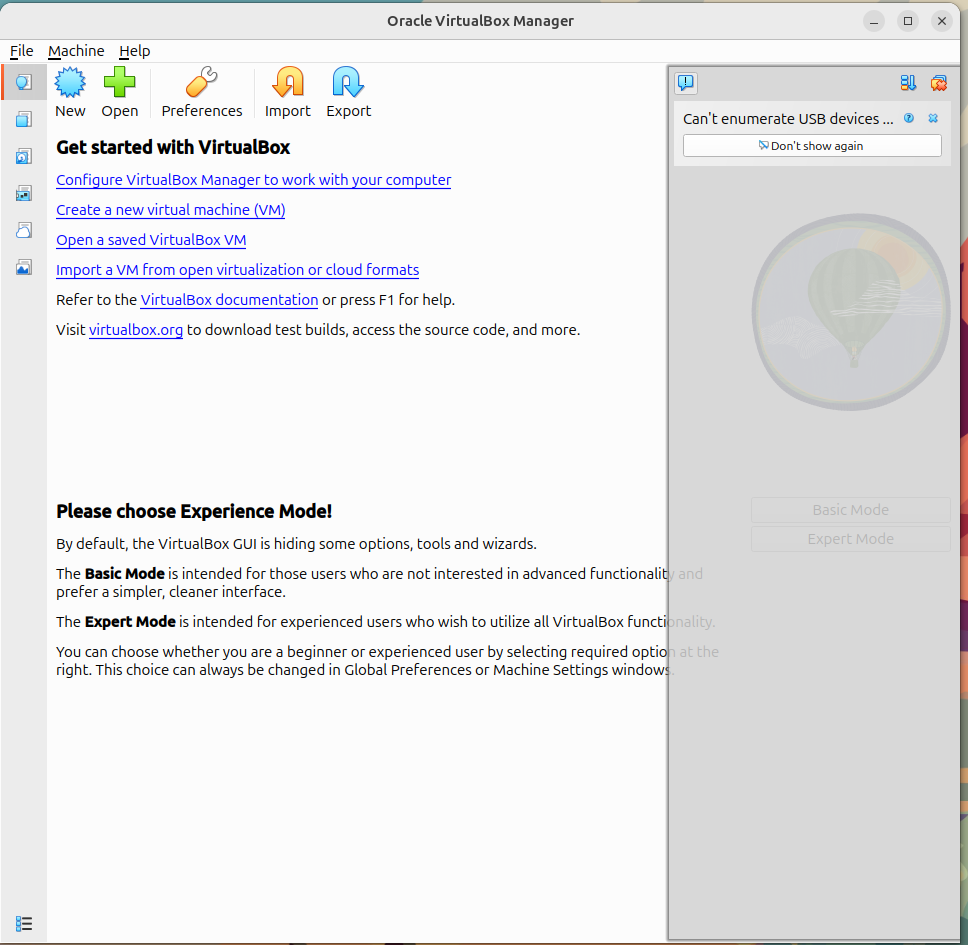
If you’re using any other version of Ubuntu or flavor of Linux, please consult their downloads page for further instructions. At this point, you can launch VirtualBox and confirm the GUI opens successfully. You should see the welcome screen providing an option to create or import a new VM.
Creating a New Windows 11 Virtual Machine
To create a new Virtual Machine, click on the New button and point VirtualBox to your downloaded Windows 11 ISO. The OS Edition should autopopulate with the version of Windows.
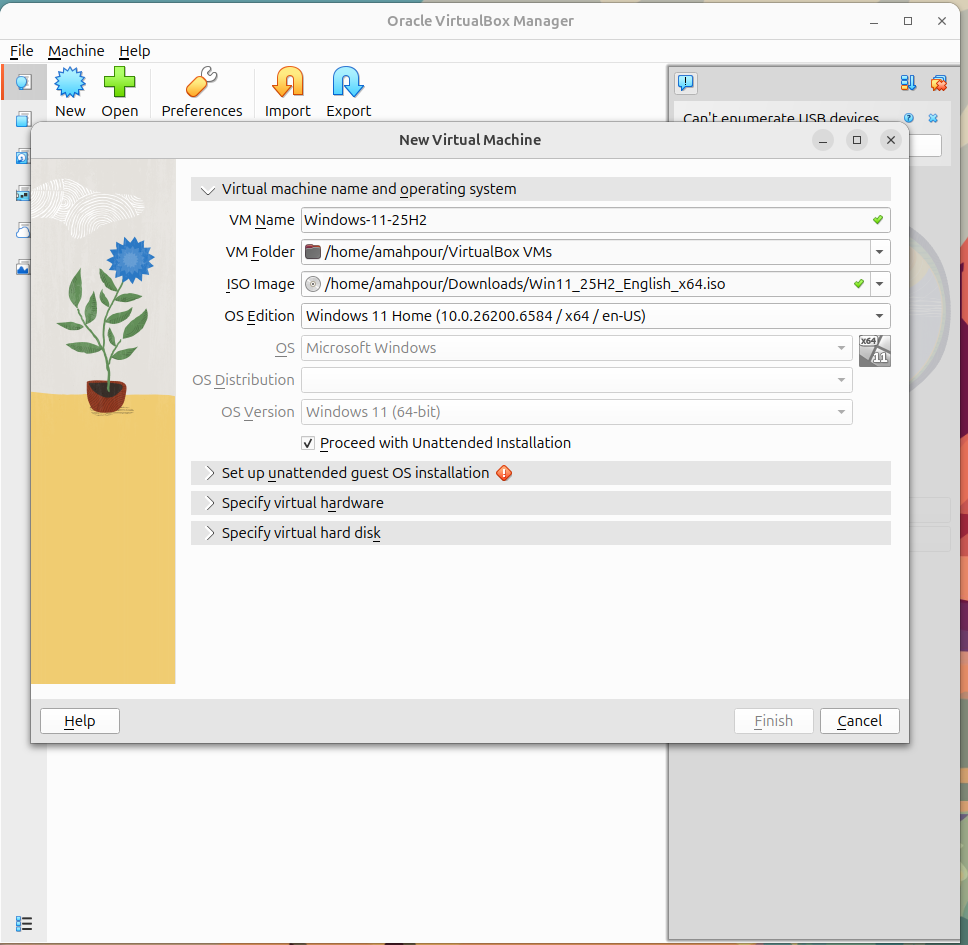
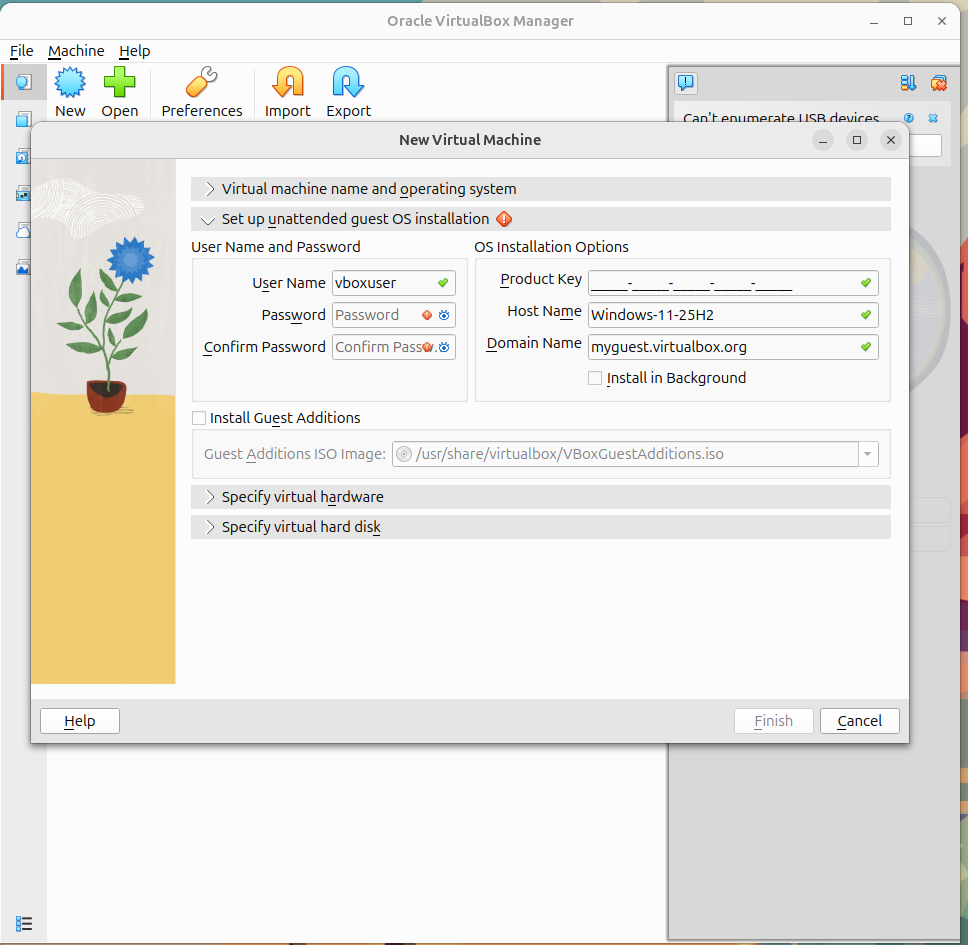
Name your VM something clear like Windows-11-25H2, then ensure Proceed with Unattended Installation is selected. This lets VirtualBox handle the first-time Windows setup automatically. You will also need to provide a password in the next step, but you can skip the Product Key for now (unless you have it on hand). If you do not add a product key you will receive an evaluation of Windows 11.
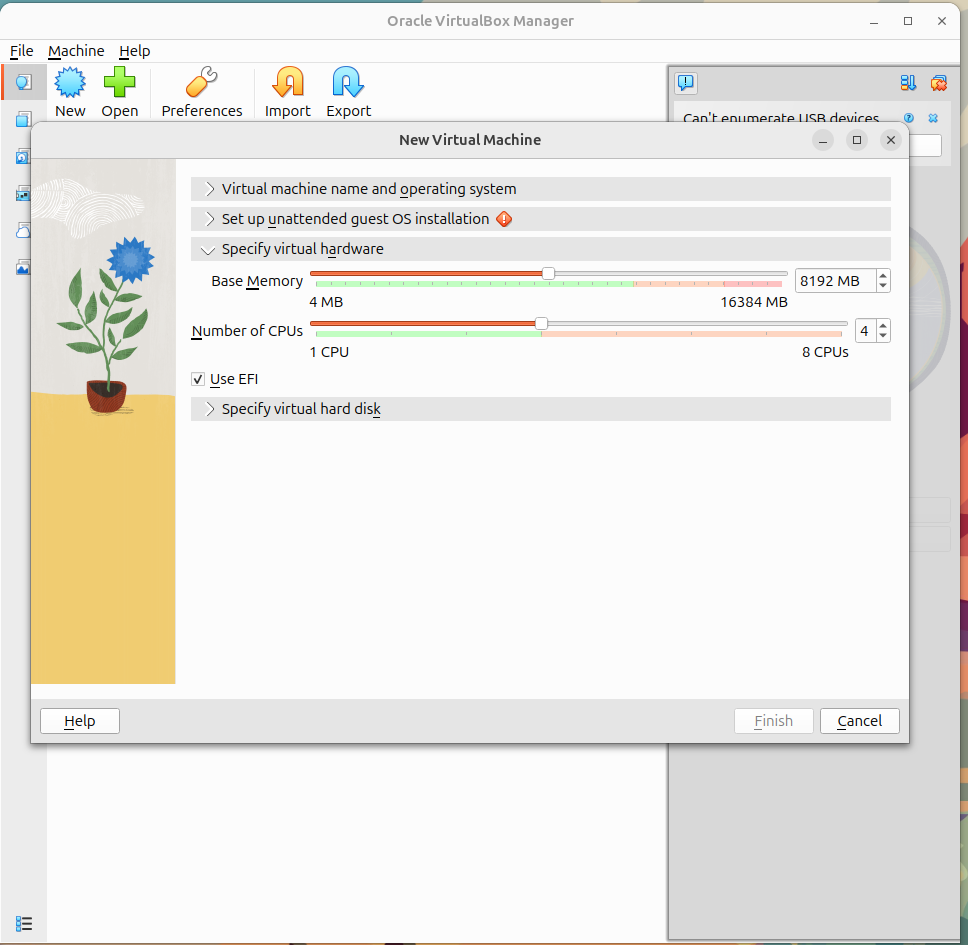
Assigning Memory and CPU Resources
In the Specify Virtual Hardware tab, allocate at least 8 GB RAM and 4 CPU cores. If your host has 32 GB RAM or more, giving the VM 16 GB will definitely improve performance.
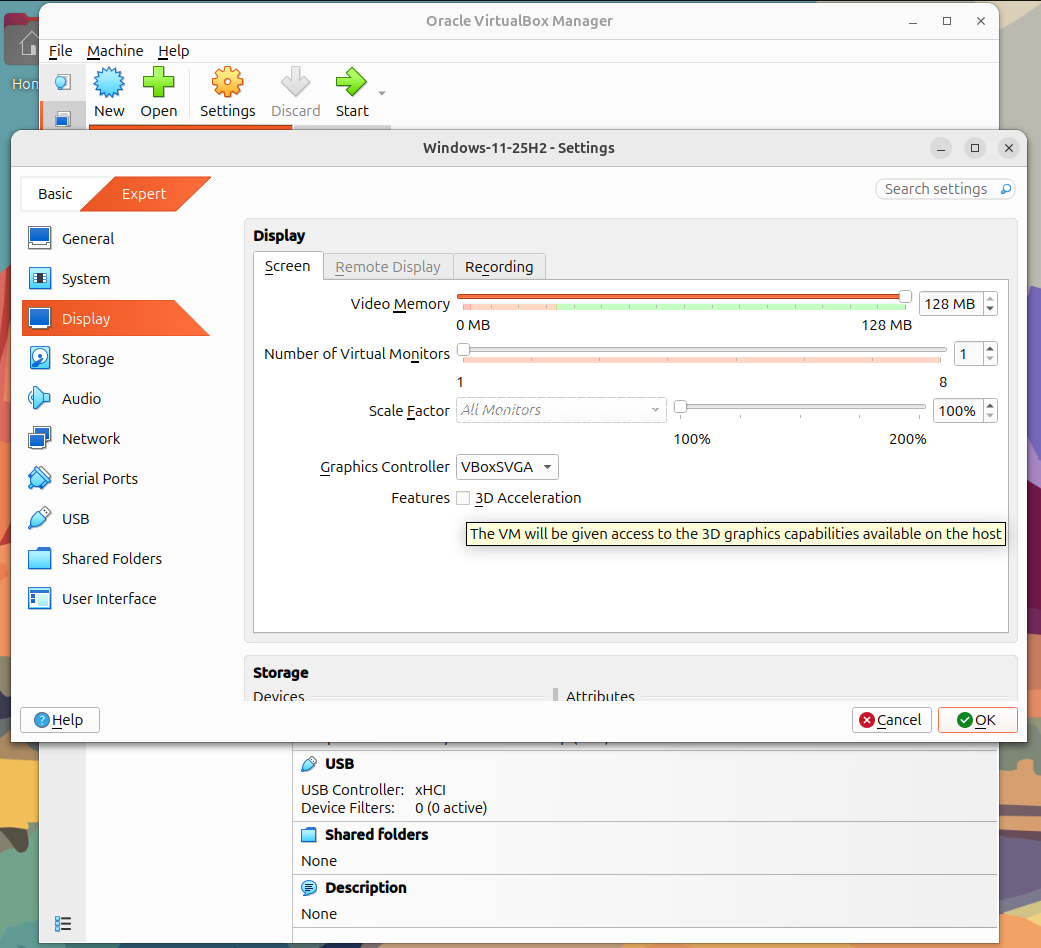
Later on (after you’ve installed Windows), you can enable 3D acceleration in the display settings of the virtual machine so Altium’s 3D PCB view runs smoothly.
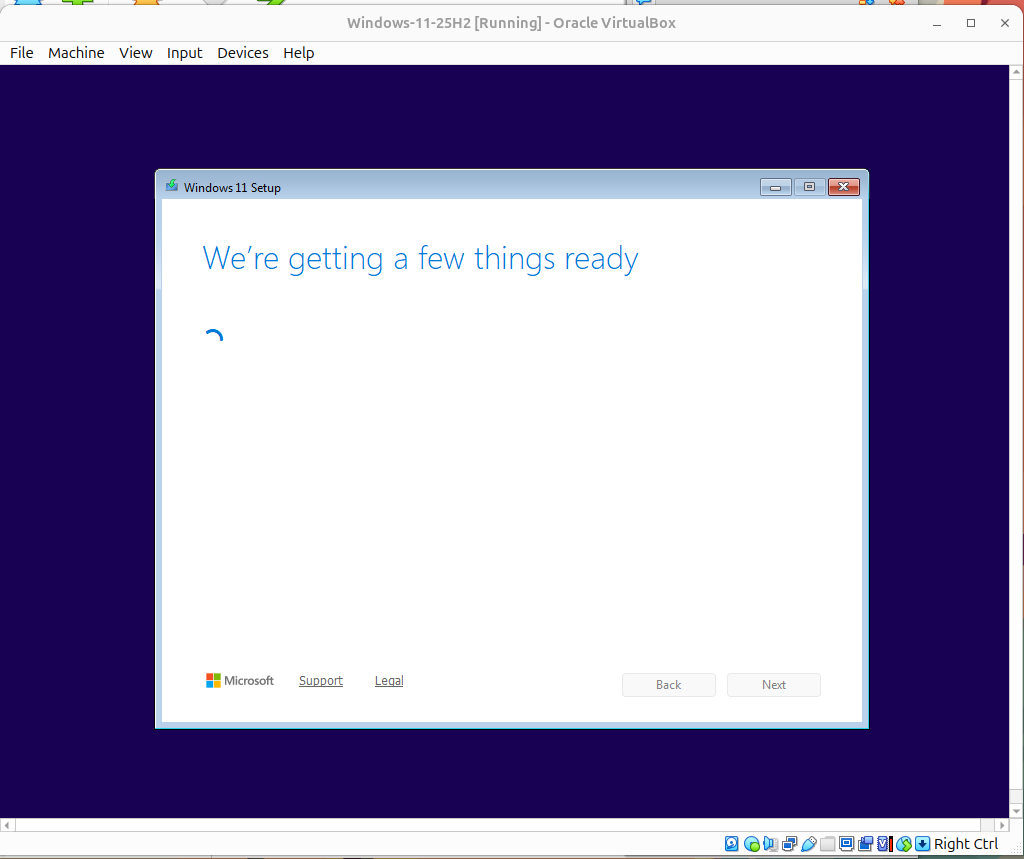
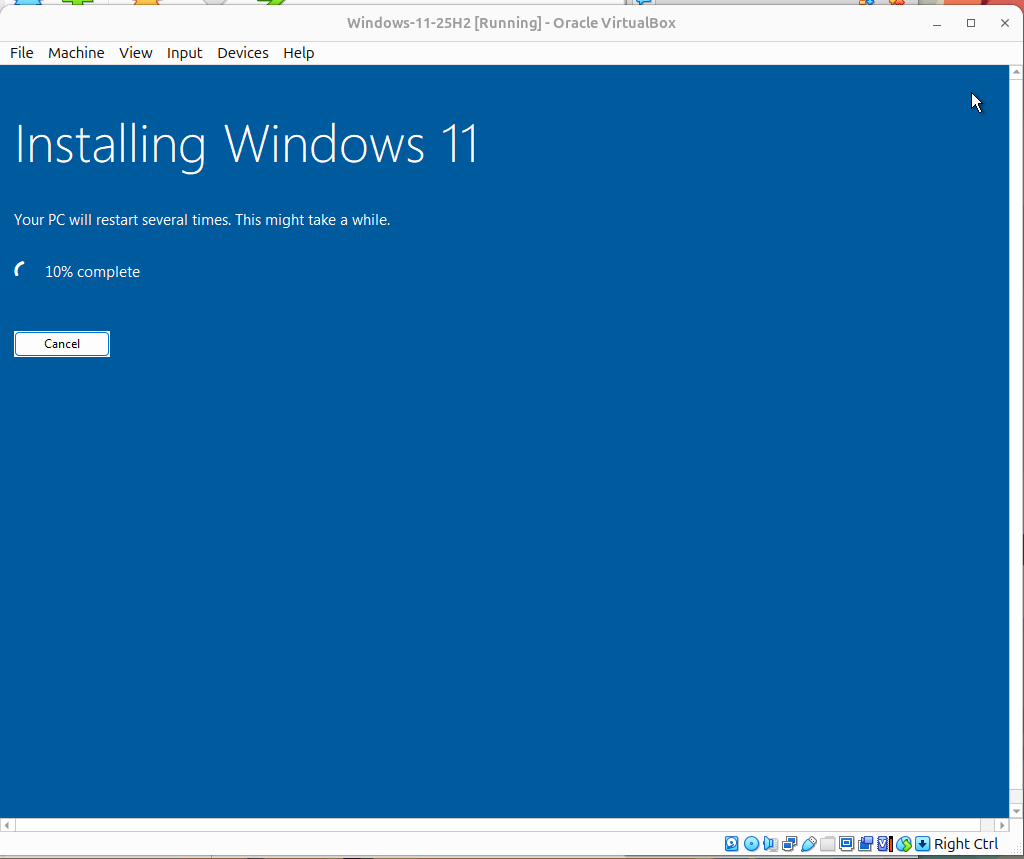
Installing Windows 11
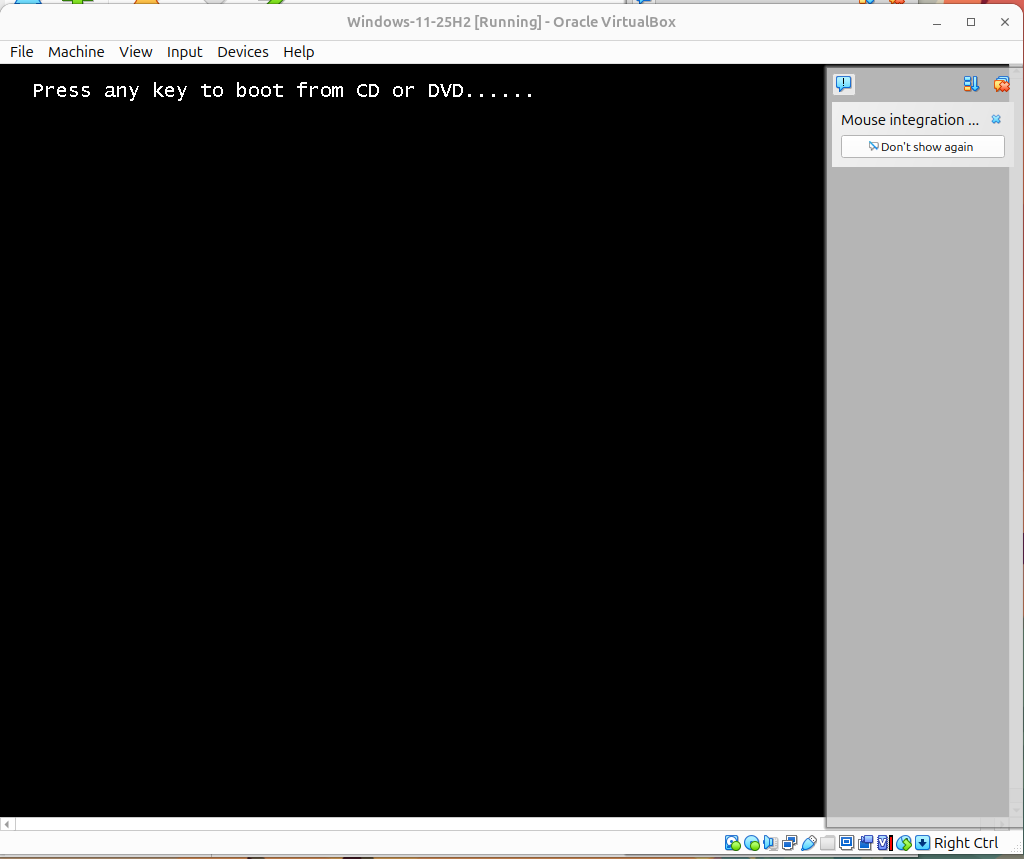
When the VM starts for the first time, you’ll see the prompt:
Press any key to boot from CD or DVD…
Be sure to click inside the VM window and hit a key quickly so setup begins.
Windows will go through its standard setup process. On older hardware, the full install can take over an hour.
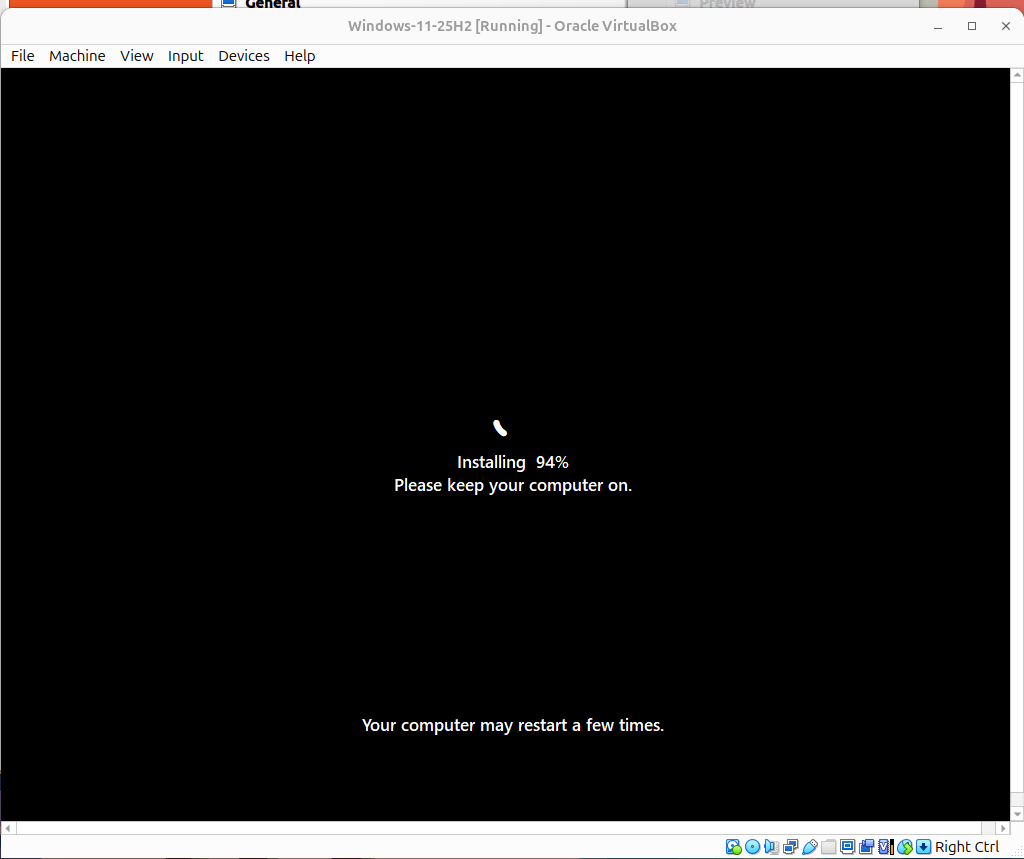
After a few reboots, you’ll be greeted by a clean Windows 11 desktop running inside your Linux environment.
Downloading and Installing Altium Designer
Inside the new Windows desktop, open Microsoft Edge and navigate to altium.com/products/downloads.
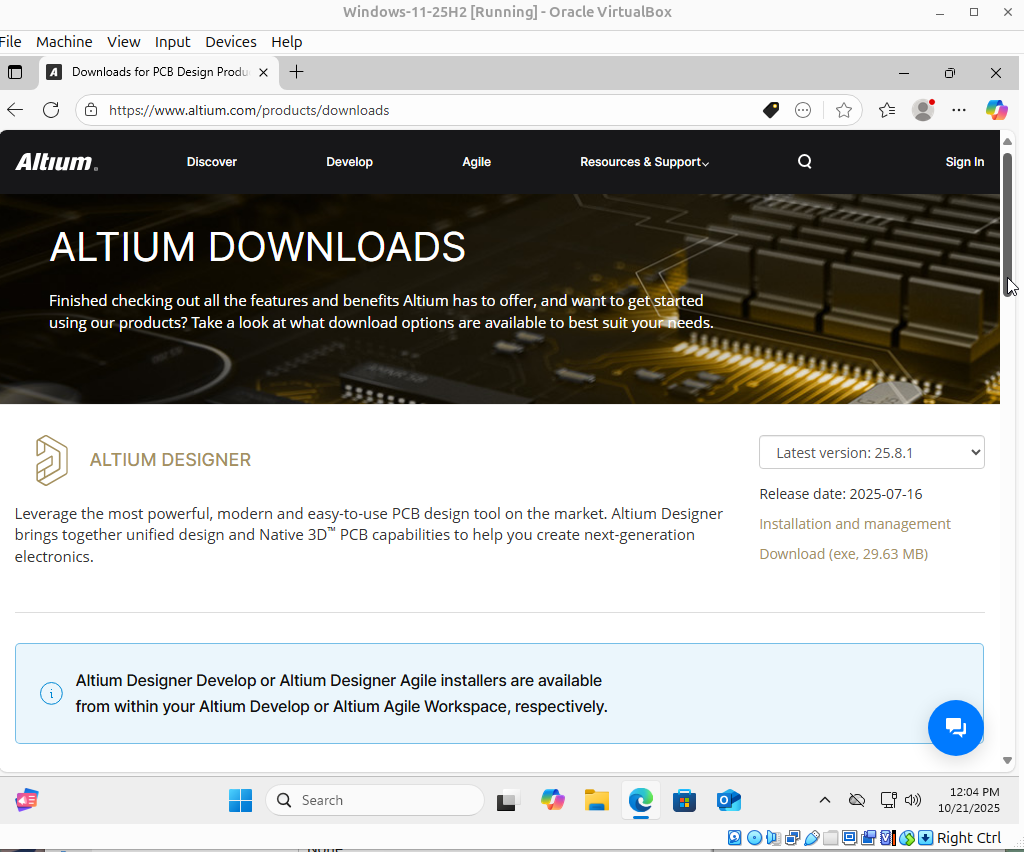
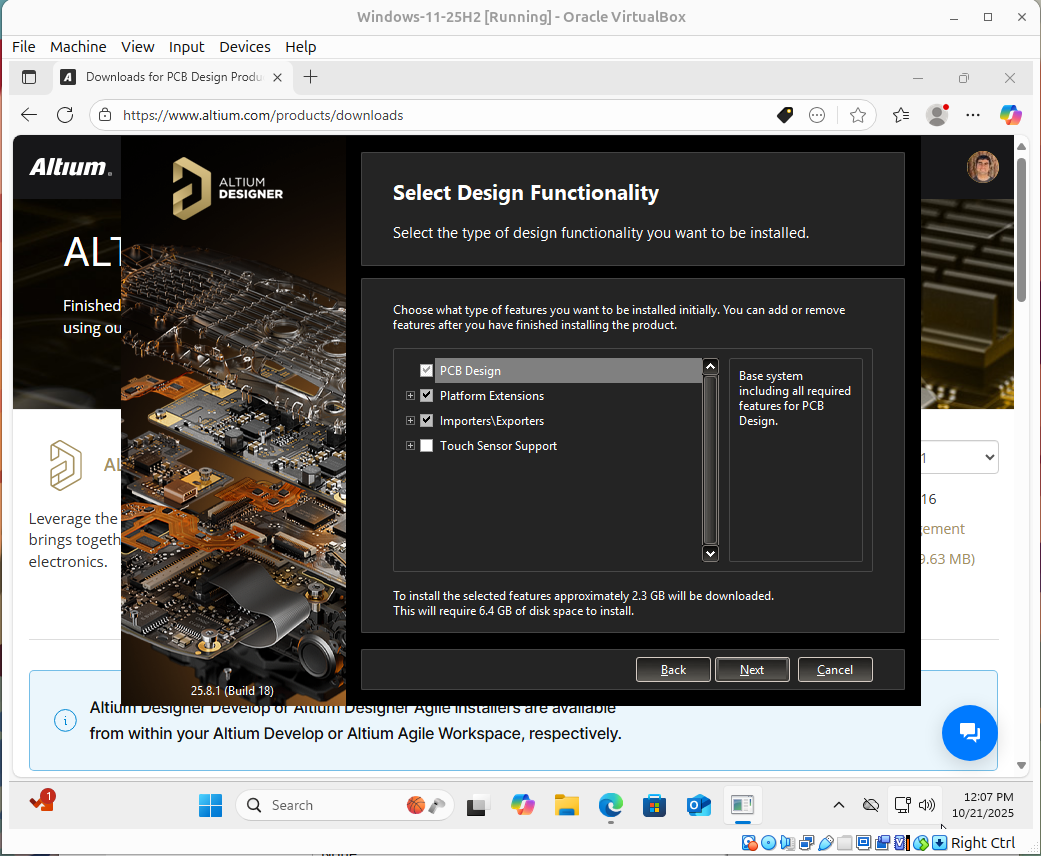
Download the Altium Designer installer from within your Altium Develop or Altium Agile Workspace. Launch it and follow the prompts just like you would when you install it on your Windows machine.
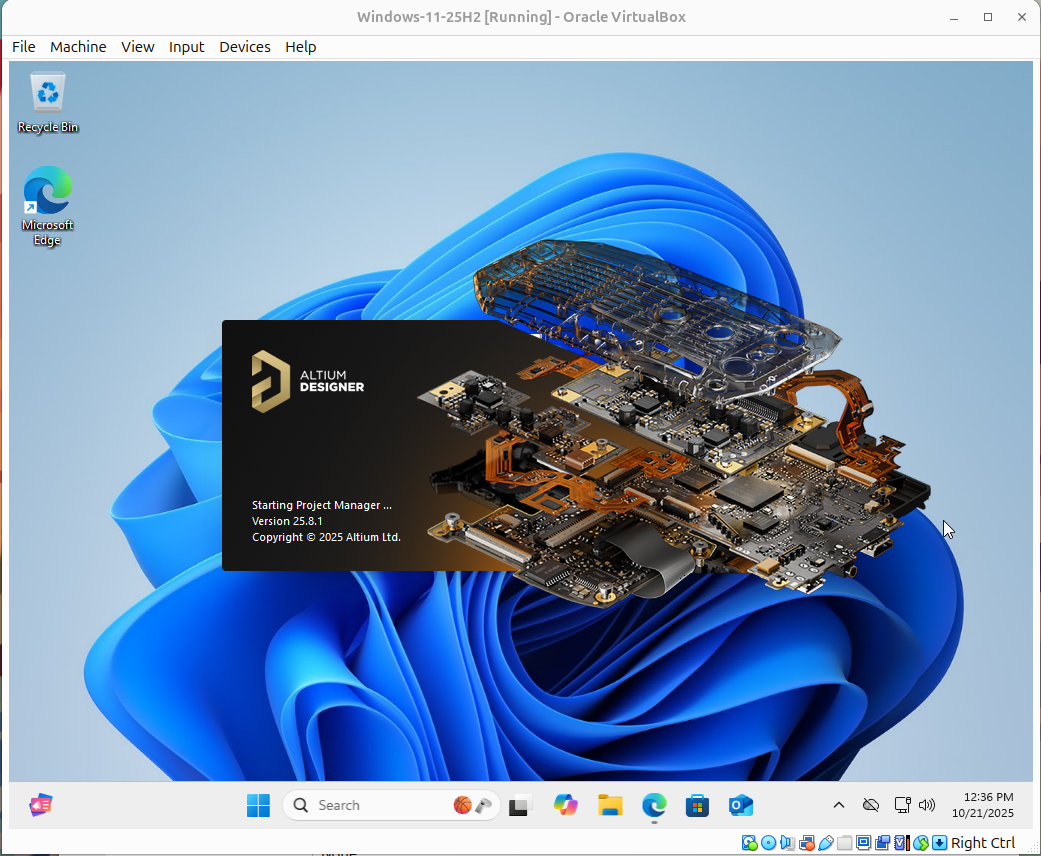
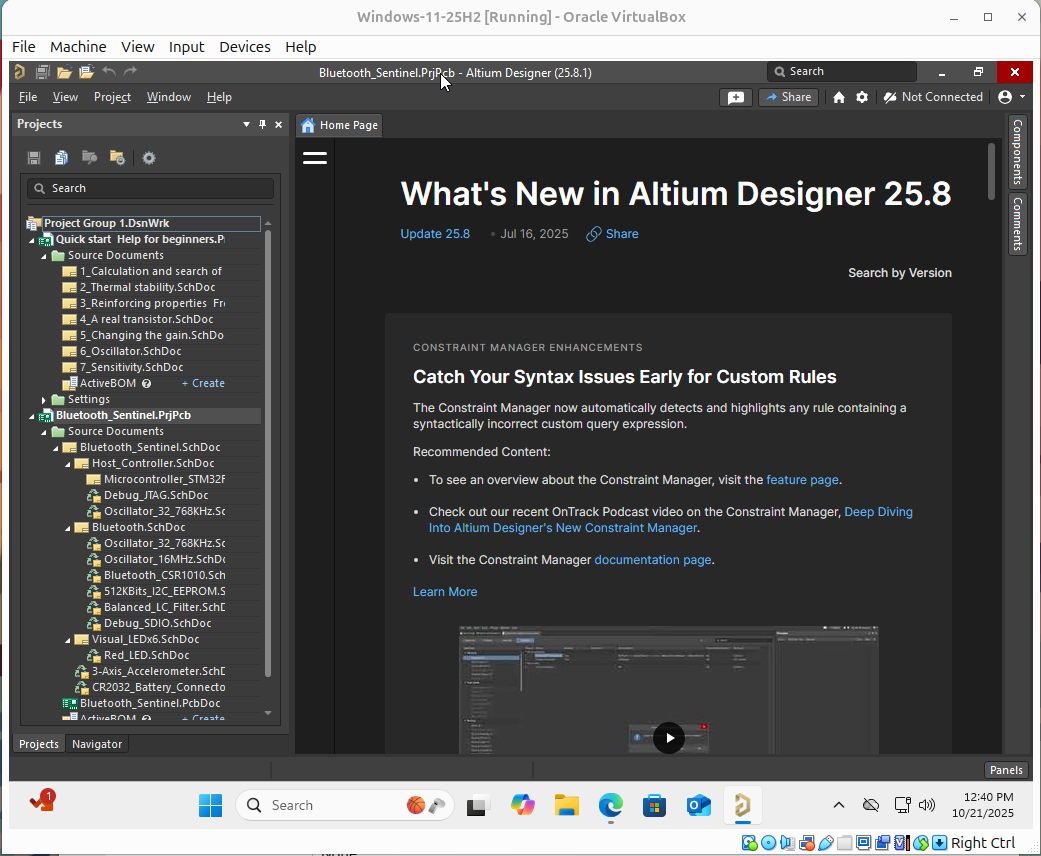
Once installation completes, launch Altium Designer. The familiar splash screen will appear, confirming the environment works correctly under VirtualBox.
Configuring the VM for Best Performance
Before doing serious design work, shut down the VM and open its settings to enable 3D acceleration (per figure 5). You will also want to install Guest Additions from the VirtualBox menu to enable smoother mouse control and display scaling.
Running Altium on Linux
At this point, you can log in to your Altium Live account, open an existing project, or create a new schematic. Inside VirtualBox, Altium behaves just like it does on a standard Windows workstation so this should all be familiar to you.
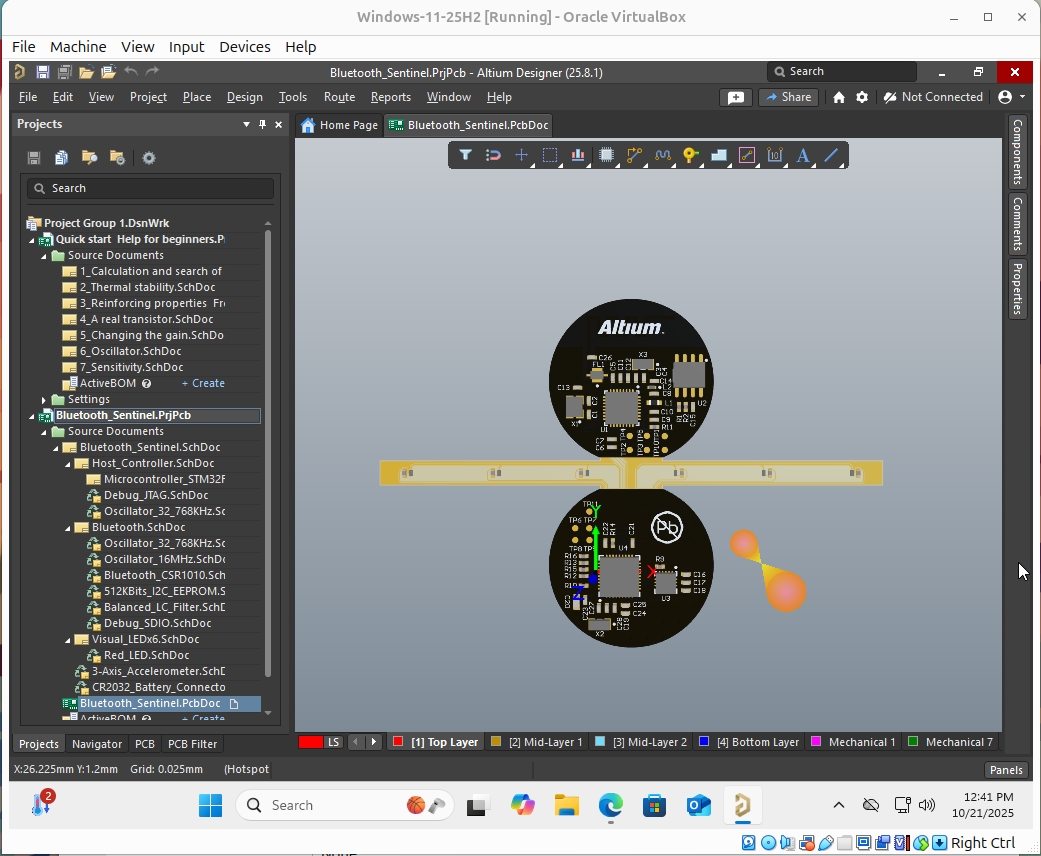
There may be a small amount of UI lag when moving between schematic and PCB views, depending on your graphics driver and acceleration settings. Still, for most design work, including 3D viewing and DRC checks, the experience is perfectly usable.
Tips and Alternatives
- Snapshots: Take a VirtualBox snapshot once everything works. If an update breaks something, you can roll back instantly.
- Alternative hypervisors: VMware Workstation Player and LXD containers also work so you can consider those as alternative options.
- Cloud option: If you need more horsepower, you can run Altium on a Windows cloud VM (e.g. AWS, Azure, etc.) and access it via RDP from your Linux desktop.
Conclusion
Running Altium Designer (included in Altium Develop and Altium Agile) on Linux no longer requires complicated hacks or unreliable emulators. By pairing Ubuntu 24.04, VirtualBox, and a Windows 11 ISO, you get the best of both worlds: a Linux development environment with full access to Altium’s professional PCB tools. It will, undoubtedly, not feel exactly like running natively on Windows, but it’s an effective solution if you’re on Linux. Once configured, the workflow feels surprisingly natural: open a terminal on one workspace, Altium on another, and design confidently from your Linux desktop.
About Author
Related Resources
Related Technical Documentation
Table of Contents
Design to Release, Without the Friction
- Keep reviews tied to the right version
- Reduce handoff confusion and rework
- Spot sourcing and release risk earlier
- Work solo, share when needed
Get Started
Thank you, you are now subscribed to updates.


